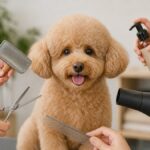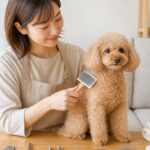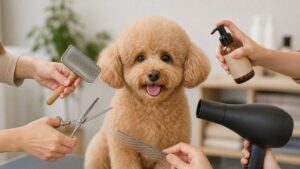

Many dog owners want to keep their beloved pets clean at home, but feel unsure where to begin. This article introduces basic dog grooming methods that can be done at home in seven easy steps, making it easy even for beginners. By explaining everything from necessary tools to procedures and precautions in an easy-to-understand way, we aim to make your time at home with your dog more comfortable and enjoyable.
Before You Start: Is Home Grooming Right?
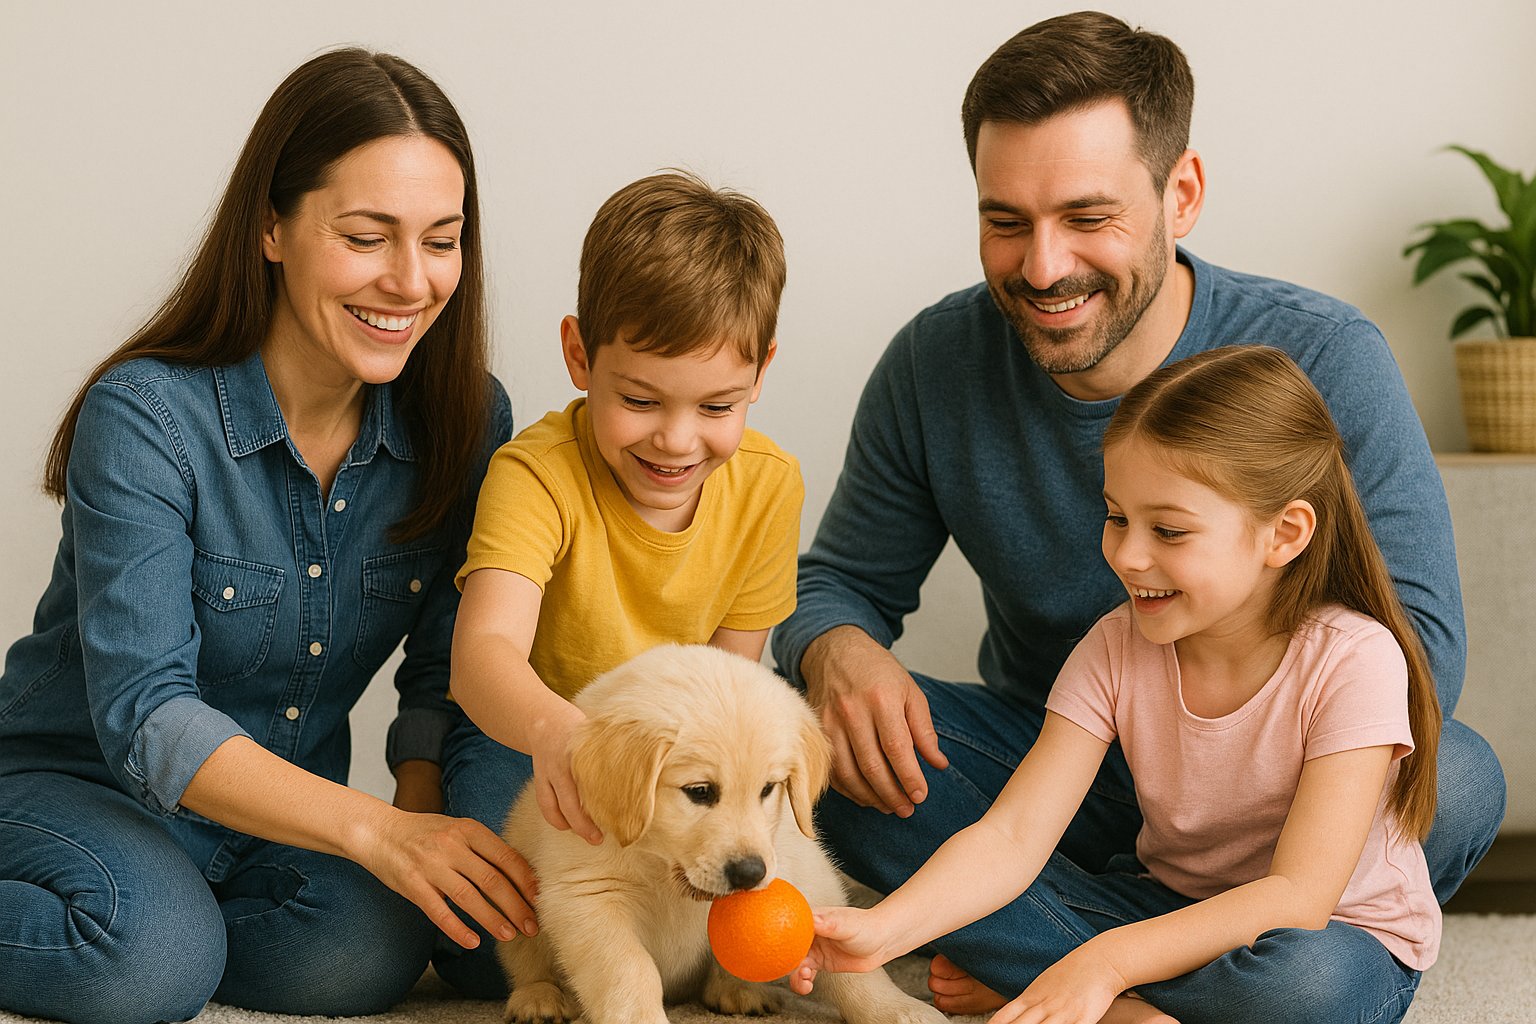
Grooming at home can save money and strengthen the bond between owner and dog, but it is not the best choice in every situation. Before starting, consider the dog’s size, coat type, age, health, and temperament. Nervous, elderly, or medically fragile dogs may become stressed or unsafe during long sessions. Home grooming should feel calm and manageable, not like a struggle. If the dog shows intense fear, aggression, or has very complex coat needs, a professional groomer or veterinary clinic is often the safer option.
Know your dog’s coat and temperament
Understanding coat type and personality helps decide how realistic home grooming is and what tools are needed.
| Point | What to check | Why it matters |
|---|---|---|
| Coat type | Smooth, double coat, curly, wire, long, hairless | Determines brushing frequency, shedding, and clipping difficulty |
| Coat condition | Knots, heavy shedding, dandruff, sensitive skin | Severe matting or sore skin often requires a professional |
| Temperament | Relaxed, fidgety, fearful, reactive | Guides session length, handling style, and safety |
| Health and age | Senior dogs, joint pain, skin disease | May need gentler handling and shorter sessions |
Dogs with very dense, curly, or heavily matted coats, or dogs that panic when handled, are often safer and more comfortable with a professional groomer.
Safety limits and when to call a pro
Home grooming has “things you can do yourself” and “things that should be left to a professional”. Pushing too hard can lead to injuries or make your dog dislike grooming, so it is important to recognize the limits early.
Signs that you should stop immediately and seek advice include:
- Strong resistance, thrashing, or trying to bite
- Red, irritated skin or bleeding
- Mats that have become felt-like and hardened close to the skin
- Feeling afraid to touch delicate areas such as around the eyes, ears, or anus
For puppies, senior dogs, dogs with existing health conditions, severe matting, major style changes, or full-body clipping with clippers, it is safer to leave the grooming to a professional groomer from the beginning. At home, it is reassuring to focus on daily care such as brushing, shampooing, and light trimming.
Essential Tools for Grooming at Home
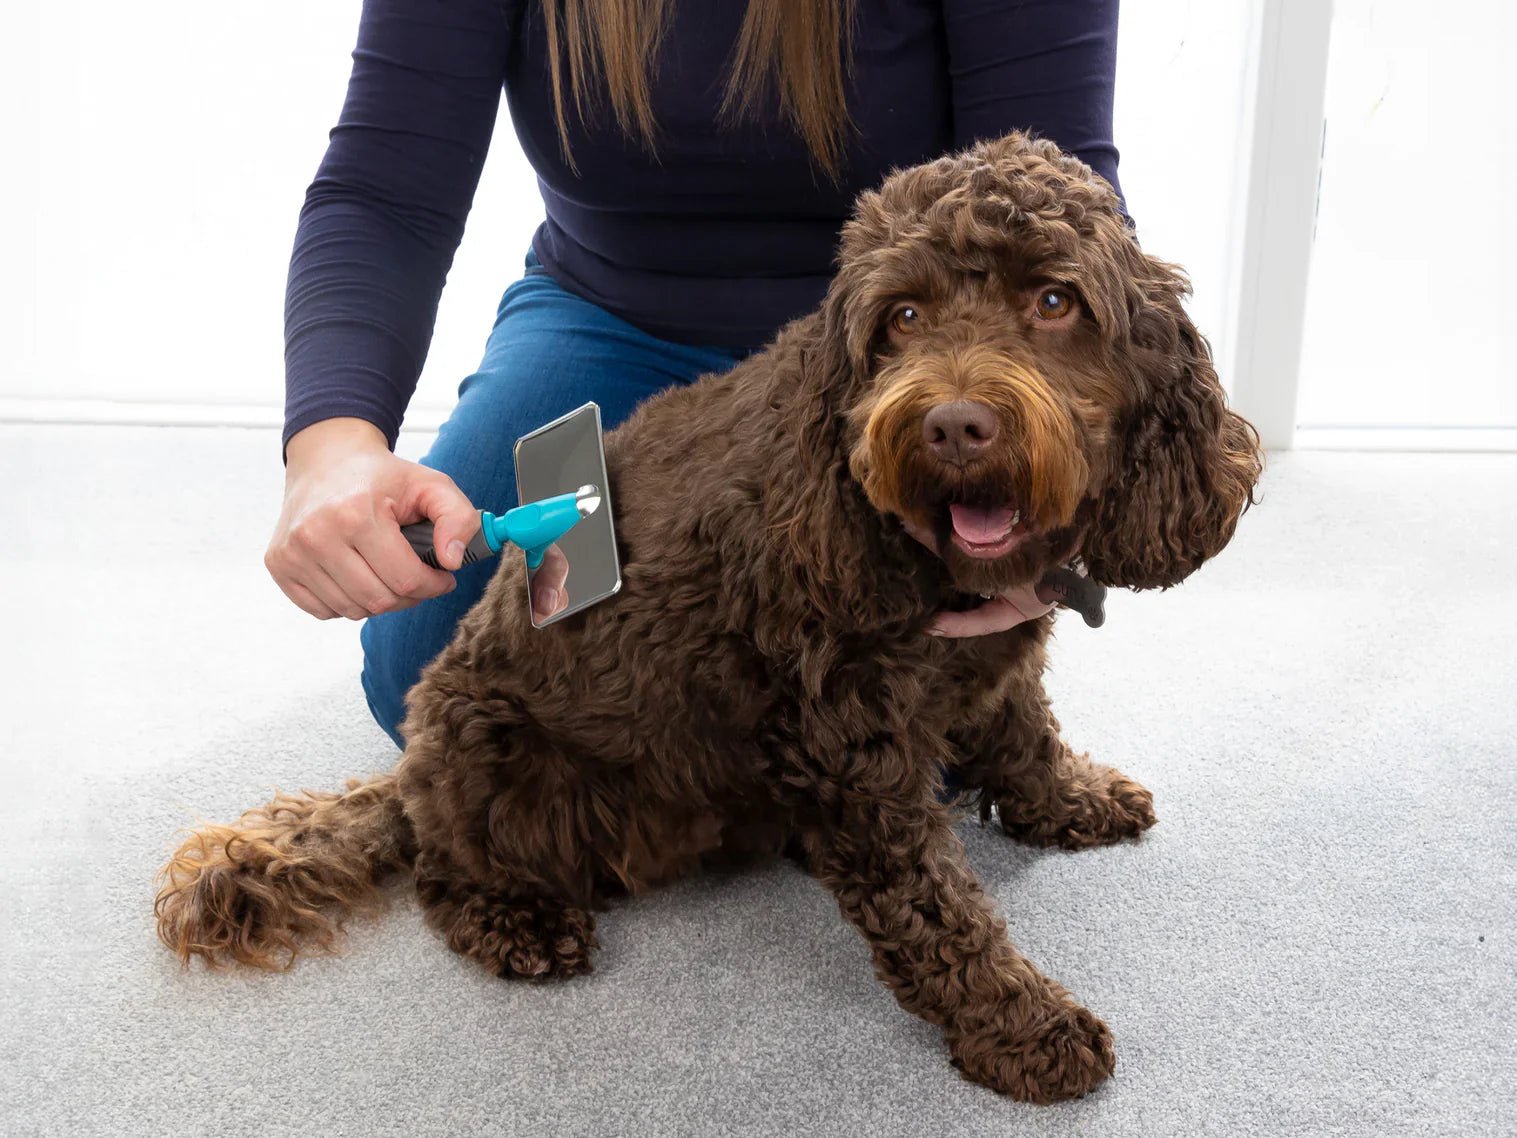
At-home grooming becomes far easier and safer with the right tools. Prepare basic coat tools, bathing items, cutting tools, and a comfortable grooming area before starting. At minimum, owners should have a suitable brush and comb, dog-safe shampoo, towels or a dryer, nail clippers or a grinder, and ear-cleaning supplies. Choosing tools that match the dog’s coat type and size helps prevent skin irritation, uneven cuts, and grooming-related stress.
Brushes, combs and de-shedding tools
Choosing the right tools makes grooming faster and more comfortable for both dog and owner. For short coats, a soft bristle brush or rubber curry brush removes loose hair and boosts circulation. Medium and long coats benefit from a slicker brush plus a metal comb to find hidden tangles. Double‑coated or heavy‑shedding dogs need a de‑shedding tool to pull out undercoat safely. Always work gently, start with softer tools, and stop if the skin looks red or the dog appears uncomfortable.
Shampoo, conditioner and drying gear
The basic rule is to choose a shampoo that is made specifically for dogs, gentle on the skin, and fragrance-free to lightly scented. For dogs with sensitive skin or puppies, a veterinarian-recommended mild formula is reassuring. Conditioner is suitable for long-haired dogs, double-coated dogs, and dogs with dry skin, helping prevent mats and static.
For drying tools, highly absorbent towels and a dryer that can be adjusted to a gentle warm airflow are convenient. If using a human hair dryer, always set it to medium to low heat, keep it at a distance from your dog’s skin, and move it continuously while drying to keep it safe.
Clippers, scissors and nail tools
Clippers, scissors, and nail tools should be chosen for safety first and suited to coat type.
| Tool | Key Features | Tips |
|---|---|---|
| Clippers | Quiet motor, adjustable guards, cool-running blades | Use guards to avoid cutting too short; never clip wet fur |
| Scissors | Rounded or blunt tips, grooming-grade steel | Reserve for feet, face, tail; keep movement slow and controlled |
| Nail clippers | Guillotine or scissor style, sharp blades | Trim tiny amounts; watch for the pink quick in lighter nails |
| Nail grinder | Low-noise, variable speed | Ideal for nervous owners; support the toe and grind briefly |
Regularly disinfect and sharpen tools to prevent pulling fur or causing micro-injuries.
Creating a calm, well-lit grooming space
A calm environment helps dogs accept grooming more easily. Choose a quiet, well-lit room with a non-slip surface such as a rubber mat or towel so paws do not slide. Keep tools within reach to avoid leaving the dog unattended. Use warm, draft-free conditions so the dog does not get chilled. Soft background music or a chew treat can reduce anxiety. For safety, avoid high tables without secure support, and never groom near hot stoves, open windows, or distractions like active children.
Step 1: Help Your Dog Love Grooming
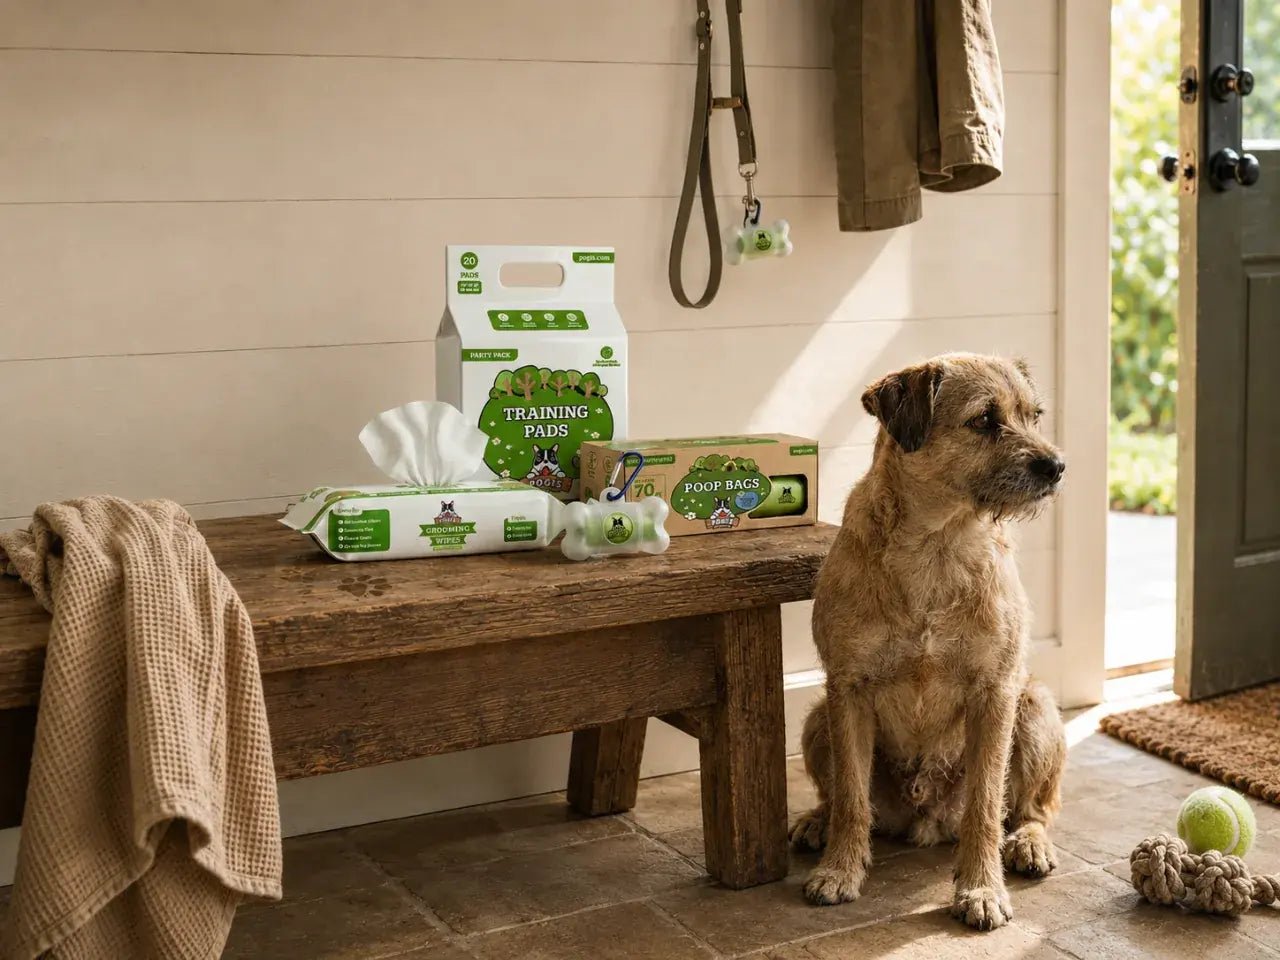
Grooming should feel like quality bonding time, not a chore. Before using tools or water, the dog needs to feel relaxed and safe. Start with calm petting in a quiet space, then gently touch the body, paws, ears, and tail while offering small treats. Keep early sessions short and end on a positive note. When the dog learns that grooming always comes with comfort, praise, and rewards, future care such as bathing, brushing, and nail trims becomes much easier and far less stressful.
Introduce tools slowly with rewards
Many dogs feel unsure around unfamiliar grooming tools, so gradual introduction is essential. Start by placing brushes, clippers and nail trimmers near your dog during calm moments, without using them. Let the dog sniff and explore freely. Each time the dog stays relaxed, offer high-value treats and gentle praise.
Next, briefly touch the tool to the body without turning it on, reward, then stop. For noisy tools like clippers or dryers, first play the sound from a distance at low volume, pairing every noise with rewards. Short, positive sessions of 3–5 minutes help the dog learn that grooming tools predict comfort and treats, not stress.
Handling paws, ears, tail and face
Paws, ears, tail and face are very sensitive areas, so handling must be slow and gentle. Start when the dog is calm. Briefly touch one area, say a cue word such as “paw,” then immediately give a treat. Gradually increase how long each area is held. Avoid squeezing or pulling. If the dog pulls away, reduce the difficulty and praise even tiny cooperation. Building trust here makes later nail trims, ear cleaning and face grooming far easier.
Step 2: Brushing and Detangling
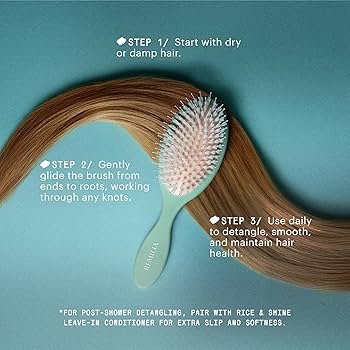
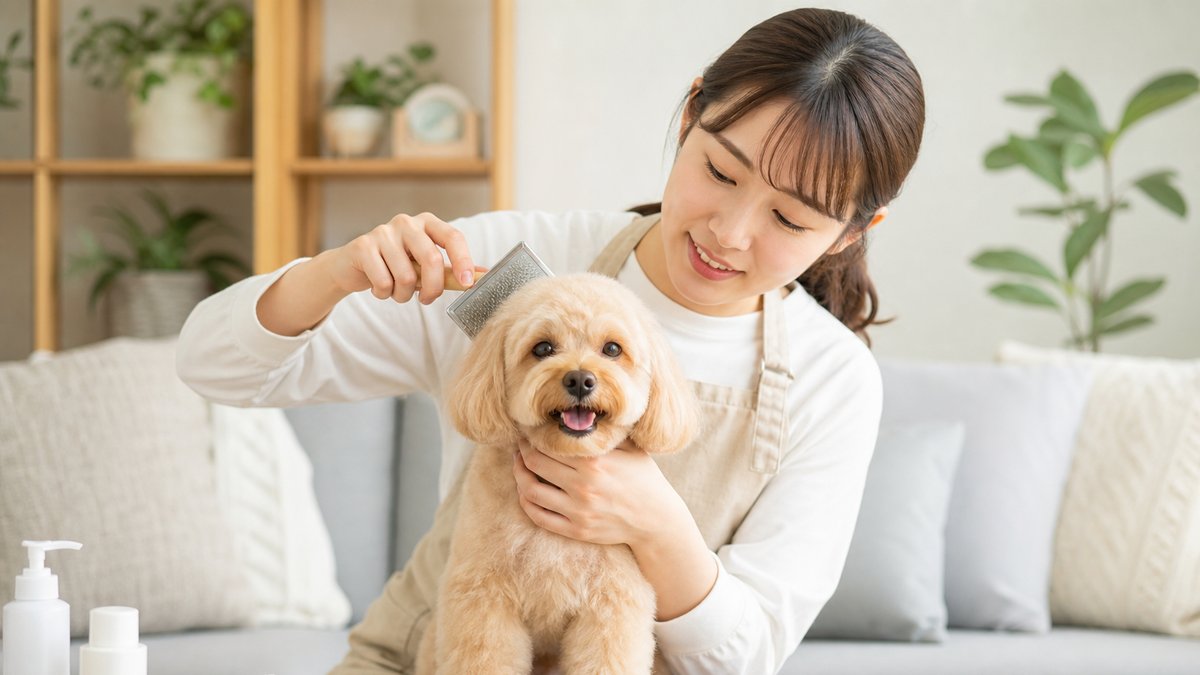
Brushing is the foundation of safe, stress–free home grooming. Before baths or clipping, gently brush to remove loose hair and surface dirt. Start where the dog enjoys being touched, such as the back or chest, and move slowly toward sensitive areas. Work in small sections from skin to tip so the brush does not scrape the skin. If a knot is found, hold the hair above the tangle to protect the skin and loosen it gently instead of pulling.
How often to brush different coat types
Brushing frequency depends strongly on coat type. As a simple guide:
| Coat type | How often to brush | Point |
|---|---|---|
| Short, smooth (Beagle) | 1–2 times a week | Removes loose hair and dander |
| Short double (Pug, Lab) | 3–4 times a week | Helps control heavy shedding |
| Medium–long single (Yorkie) | Daily or every 2 days | Prevents tangles |
| Long/double (Collie, Husky) | Daily in shedding seasons | Essential to prevent mats |
| Curly/wool (Poodle) | At least 3–4 times a week, often daily | Keeps tight curls from matting |
Puppies and seniors benefit from gentler, shorter sessions, even if brushing is needed more often.
Removing knots and preventing matting
Mats are more than a cosmetic issue; they can pull on skin and hide irritation or parasites. Start by never wetting tangles first, because water tightens knots. Instead, use a slicker brush and a metal comb on dry fur. Hold the hair close to the skin to reduce pulling, then work on small sections, from tip toward the skin. For stubborn areas, apply detangling spray and gently separate with fingers before brushing. Regular, short sessions prevent painful large mats from forming.
Step 3: Bathing Your Dog Safely
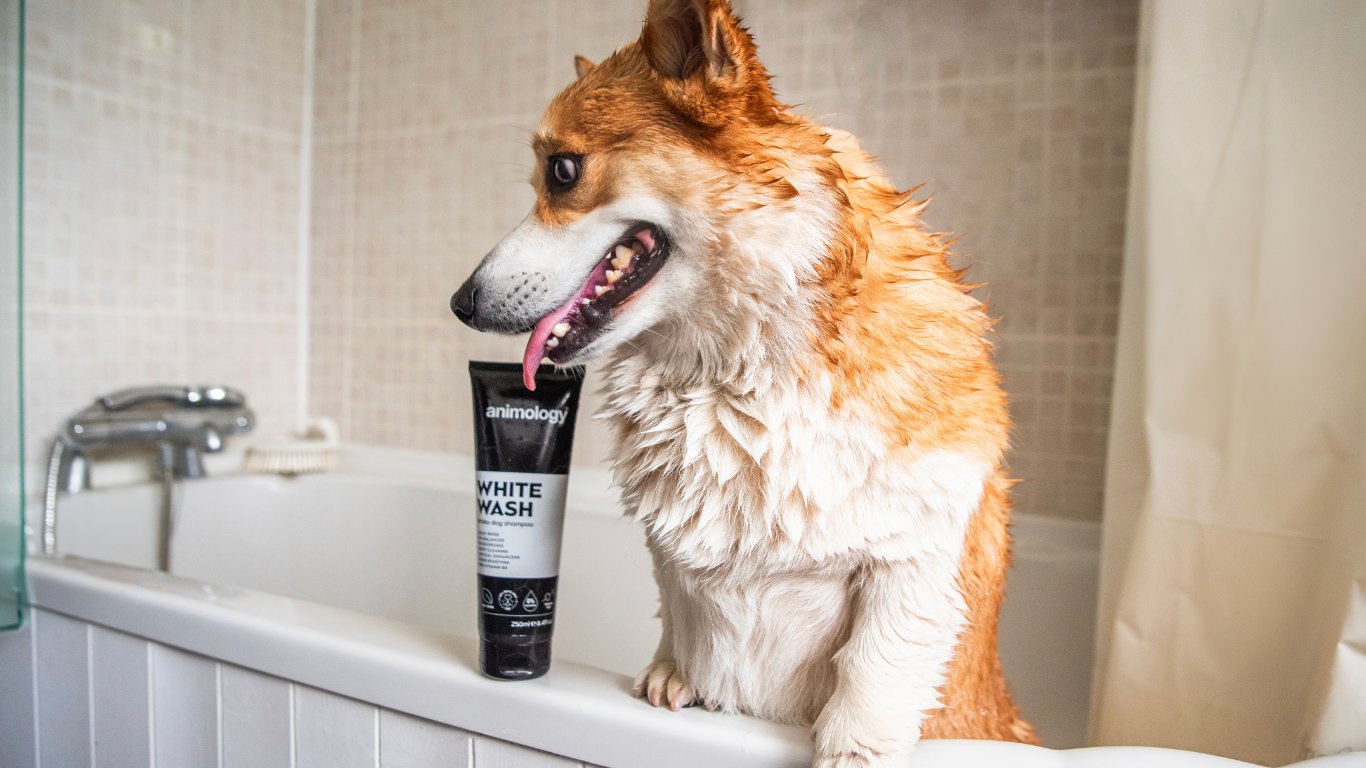
Bathing is not only for cleanliness; it also protects skin health and comfort. Before using water, brush thoroughly so shampoo can reach the skin and loose hair does not clog drains. Use only dog-safe shampoo to avoid dryness and irritation. Prepare towels, a non-slip mat, and lukewarm water in advance. Speak calmly and work slowly, supporting the body so the dog feels secure. Gentle handling and plenty of praise help many dogs accept regular bathing as a normal part of life.
How often should you bathe a dog?
How often a dog needs a bath depends on coat type, lifestyle, and skin health.
| Dog type | Typical guideline |
|---|---|
| Short, smooth coat (Beagle etc.) | Every 4–8 weeks |
| Medium / long coat | Every 4–6 weeks, plus regular brushing |
| Double coat (Husky, Shepherd) | Every 6–10 weeks, focus on de-shedding |
| Oily or “doggy” coat | Every 3–4 weeks with gentle shampoo |
Dogs that swim, roll in mud, or have allergies may need more frequent rinse-offs with water only. Overbathing can dry the skin, so if odor or itchiness persists even after bathing, consultation with a veterinarian or groomer is recommended.
Water temperature, lathering and rinsing
Use lukewarm water, about body temperature (around 37–38℃ / 98–100°F). Water that feels hot on human skin is usually too warm for dogs and may cause stress.
Wet the coat thoroughly down to the skin, avoiding direct spray into ears, eyes, and nose. Apply dog-specific shampoo, lather gently from neck to tail, then legs, leaving the head for last. Rinse for longer than expected until the water runs completely clear and the coat no longer feels slippery. Insufficient rinsing is a major cause of itchiness and skin irritation.
Common bathing mistakes to avoid
Many bathing problems come from overdoing or rushing. Avoid bathing too often, which can dry the skin and cause itching. Never use human shampoo or harsh scented products; always choose dog‑specific formulas. Rinse very thoroughly, because leftover shampoo often leads to dandruff, hotspots and licking. Do not get water or soap into eyes or ears. Finally, avoid scalding or cold water and do not bathe a dog on very slippery floors.
Step 4: Drying Without Stress
Drying is where many dogs become anxious, so the goal is slow, gentle, and thorough. Start by letting the dog shake off excess water, then press (not rub) with an absorbent towel to protect the coat and skin. Keeping the grooming area warm and free from drafts helps muscles relax. Make sure the coat is fully dry, especially in armpits, groin, and between toes, to prevent hotspots, fungus, and odors. Offer treats and calm praise throughout to build a positive association.
Towel drying vs blow drying
Towel drying is gentle and quiet, so it suits most dogs and first-time groomers. Use several absorbent towels, press rather than rub to avoid tangling hair, and focus on chest, belly and paws. For short coats, towel drying alone is often enough.
Blow drying is useful for thick, curly or double coats, because it helps prevent moisture trapped near the skin. Always use a pet-safe dryer or human dryer on cool/low heat, keep it moving, and hold it at least 20–30 cm from the coat to avoid burns and dry skin.
Keeping nervous dogs calm around dryers
Many dogs find dryer noise and airflow scary, so slow, positive introduction is essential. Start with the dryer turned off, reward with treats while the dog sniffs it, then briefly switch it on far away at the lowest setting. Gradually move closer over several sessions.
Use a low heat, low airflow setting and avoid blowing directly into eyes, ears, or nose. Point the air slightly to the side and keep the dryer moving to prevent hot spots. For very anxious dogs, consider a quiet, dog-specific dryer or stick to towel drying plus air-drying in a warm room. If stress signs such as shaking, tail tucked, or trying to escape continue, take a break and shorten future sessions.
Step 5: Trimming Fur at Home

Trimming fur at home focuses on neatening rather than creating a show-style cut. Before cutting, ensure the coat is clean, fully dry, and brushed free of tangles; cutting into knots is painful and unsafe. Start with easy areas such as body and legs, leaving face, paws, and sanitary zones for last or for a professional. Work slowly, remove only small amounts of hair at a time, and check the shape from several angles. If the dog shows stress, pause and offer treats, then continue later.
Clipper basics and safety rules
Clippers save time, but safety must come first. Always use pet-specific clippers with sharp blades and a guard/comb attachment. Let the dog sniff the turned-off clippers, then switch them on away from the body so the dog can get used to the sound. Keep the skin flat with one hand and move the clippers with hair growth in slow, light strokes. Check blade temperature every few minutes; hot blades can burn skin. Avoid clipping over matted fur, nipples, ears, genitals and any lumps; leave delicate or difficult areas to a professional.
Scissor work on feet, face and tail
Feet, face and tail require slow, precise scissor work. Always use blunt‑tipped grooming scissors and keep the blades parallel to the skin, never pointing in.
- Feet: Comb hair between toes upward, then trim the excess level with the paw pads. Check pads for cracks or debris.
- Face: Trim only overgrown fur around eyes and mouth. Hold the muzzle gently and cut tiny amounts at a time.
- Tail: Comb the tail straight, then lightly shape the outline, avoiding the base where skin is delicate.
If the dog fidgets or seems anxious, pause, reward with treats, and continue later to keep grooming positive.
Simple styles for everyday pets
For everyday pets, aim for simple, tidy styles rather than show cuts. Many families choose a practical “puppy cut” or “teddy cut”: the body and legs are clipped to a uniform short length, with slightly longer fur on the head and ears for a soft look. Keep hair short around the eyes, sanitary area, and paw pads for comfort and hygiene. Avoid dramatic length differences until confidence and skill have grown.
Step 6: Nail, Paw and Ear Care
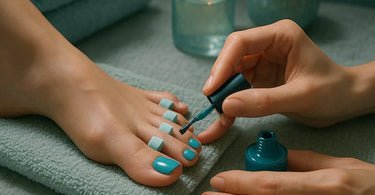
Healthy nails, paws and ears are essential for a dog’s comfortable daily life. At-home grooming is a good chance to spot small problems early and prevent pain. In the nail area, long claws change posture and can crack; on the paws, debris and dry pads cause limping; in the ears, dirt and moisture may lead to infections. Gentle, regular care helps many dogs stay active, avoid vet visits for preventable issues, and feel relaxed when touched all over.
How to trim nails without hurting
Rather than focusing on cutting the nails short, it is important to think of trimming them safely little by little. For white nails, stop before reaching the central pink area called the quick. For black nails, cut 1 to 2 mm from the tip at a time, and stop when the cut surface becomes slightly moist or the center looks dark and round.
Holding the nail clipper at about a 45-degree angle and trimming the tip little by little can help prevent the nail from splitting. Praising your dog and giving a treat after each nail can help ease tension. In case bleeding occurs, it is reassuring to prepare styptic powder or clean cotton in advance.
Caring for paw pads and fur between toes
Paw pads act as natural shock absorbers, so keeping them healthy is essential. Check pads regularly for cracks, cuts, or stuck debris such as small stones or glass. Gently wipe paws after walks and trim long fur between toes so it does not mat or trap dirt and ice.
Use blunt-nosed scissors or clippers and trim only the hair level with the pads, never into the skin. Dry, rough pads may benefit from a dog-safe balm; human creams can make pads too soft and slippery. If bleeding, deep cracks, redness, or limping appear, consult a veterinarian promptly.
Cleaning ears and spotting problems
Gently clean only the outer ear using a dog-safe ear cleaner and cotton pad. Pour cleaner into the canal, massage the base of the ear for 20–30 seconds, then allow the dog to shake and wipe away loosened debris. Never insert cotton swabs deep into the ear, as they can push wax further in or damage the eardrum.
Watch for redness, strong odor, dark discharge, frequent scratching, head shaking, swelling, or pain when touched. These signs suggest infection, mites, allergies, or a foreign object. In such cases, stop cleaning and consult a veterinarian promptly instead of trying to treat at home.
Step 7: Final Check and Positive Finish

A quick final check helps keep grooming safe and pleasant. Run both hands over the whole body to feel for lumps, sore spots or new mats. Look at eyes, nose and mouth for discharge or bad odor, and confirm nails are smooth and not bleeding. End every session with calm praise, gentle petting and a small treat, so the dog connects grooming time with comfort and rewards, not stress.
Health check while you groom
Grooming time works well as a quick health check. Gently run hands over the whole body to feel for lumps, bumps, scabs or sore spots. Look at skin for redness, flakes or parasites, and check eyes for discharge or cloudiness. Open the mouth briefly to notice bad breath, broken teeth or very red gums. Observe weight changes, coat shine and energy level. If pain, bleeding, sudden changes or a worrying lump appear, contact a veterinarian promptly.
Rewarding your dog and building routine
Grooming time should always end on a positive, calm note. Offer high–value treats, gentle praise, or a favorite toy as soon as grooming finishes, so the dog associates care with reward. Keep sessions short at first, then gradually extend the time.
To build a routine, choose set grooming days and keep the order similar: brushing → bath → drying → trimming → check and reward. A predictable pattern reduces stress and helps many dogs relax more quickly at the next session.
Do’s and Don’ts of Home Dog Grooming
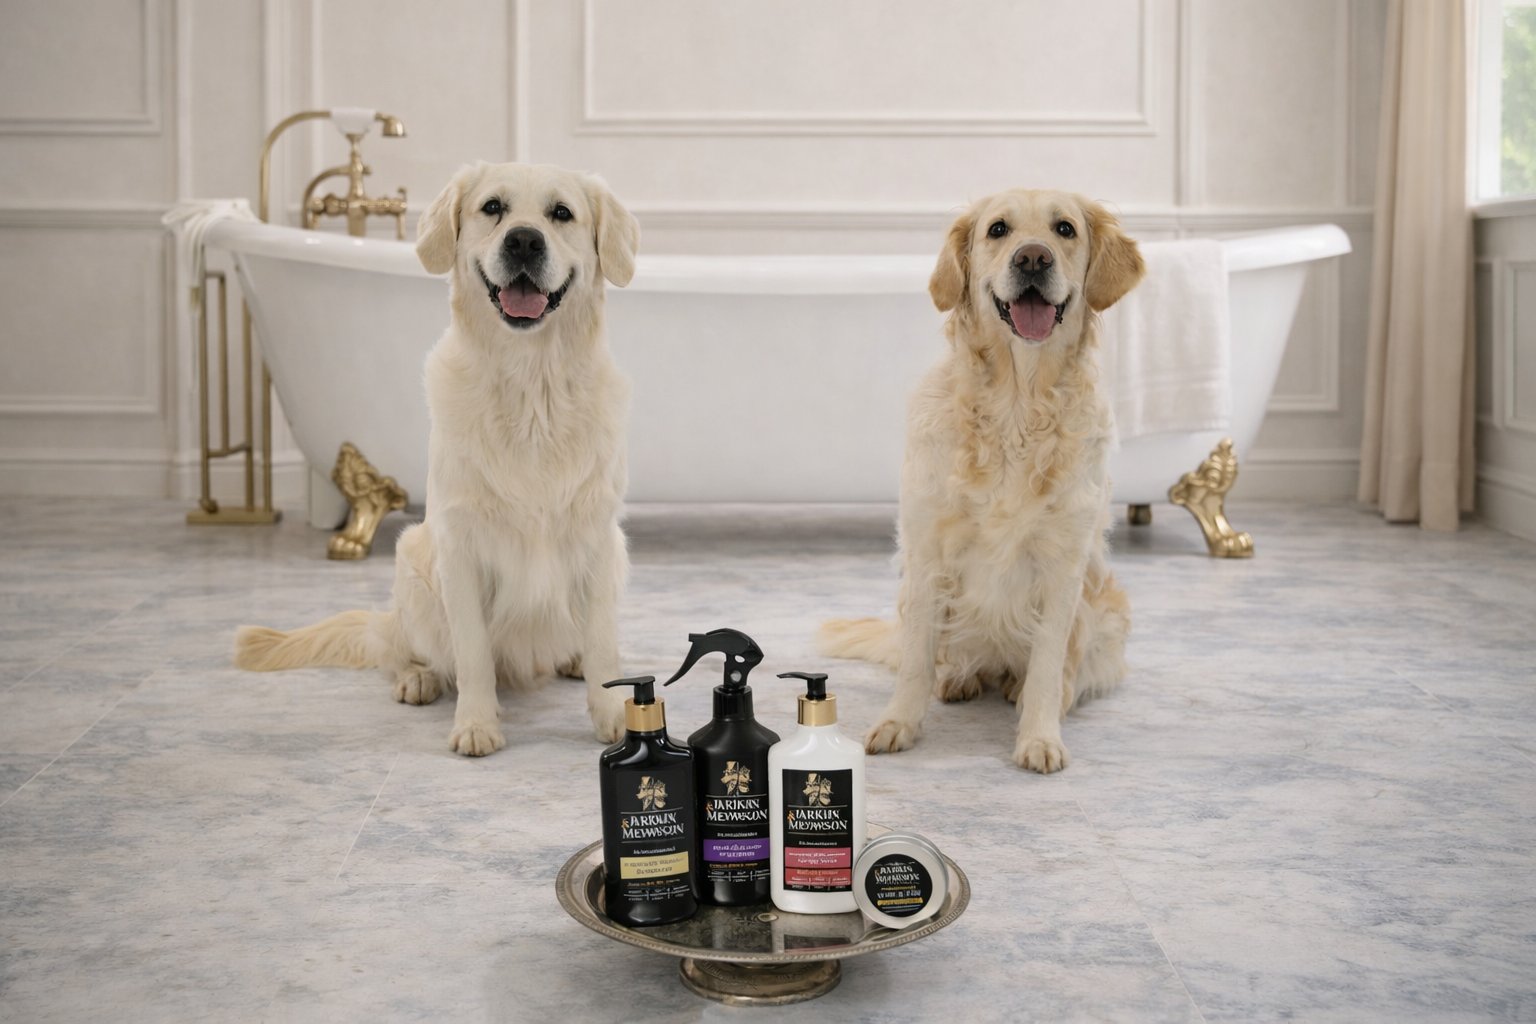
Home grooming becomes safer and more pleasant when owners follow clear rules. Do: go slowly, use only dog-safe products, and check the skin, ears, and nails each session. Keep blades and scissors sharp and clean to avoid pulling hair. Schedule short, regular grooming rather than long, rare sessions. Don’t: rush, force a frightened dog, cut into mats close to the skin, or groom around injuries. When unsure, stop and consult a veterinarian or professional groomer.
Good habits that make grooming easier
Good grooming habits keep sessions short, safe, and pleasant for both owner and dog. Aim for regular, bite‑size sessions instead of occasional marathons. Brush a little more often than seems necessary, especially for long or double coats. Prepare all tools before starting, and follow a simple order each time (brush → bath → dry → trim → check). Use calm voice, slow movements, and plenty of treats. Ending on a positive note, even if some tasks remain, helps the dog relax for the next session.
Risks and red flags to watch for
Major risks in home grooming come from going too fast, cutting too short, or ignoring stress signals. Stop immediately and seek a vet or groomer if you see: sudden yelping, bleeding from nails or skin, red or swollen ears, strong odor, intense scratching, or limping after grooming. Also treat panting, shaking, growling, or trying to bite as clear signs of fear or pain and pause the session. When in doubt, keep sessions short and consult a professional.
Lifestyle Tips for At-Home Dog Grooming
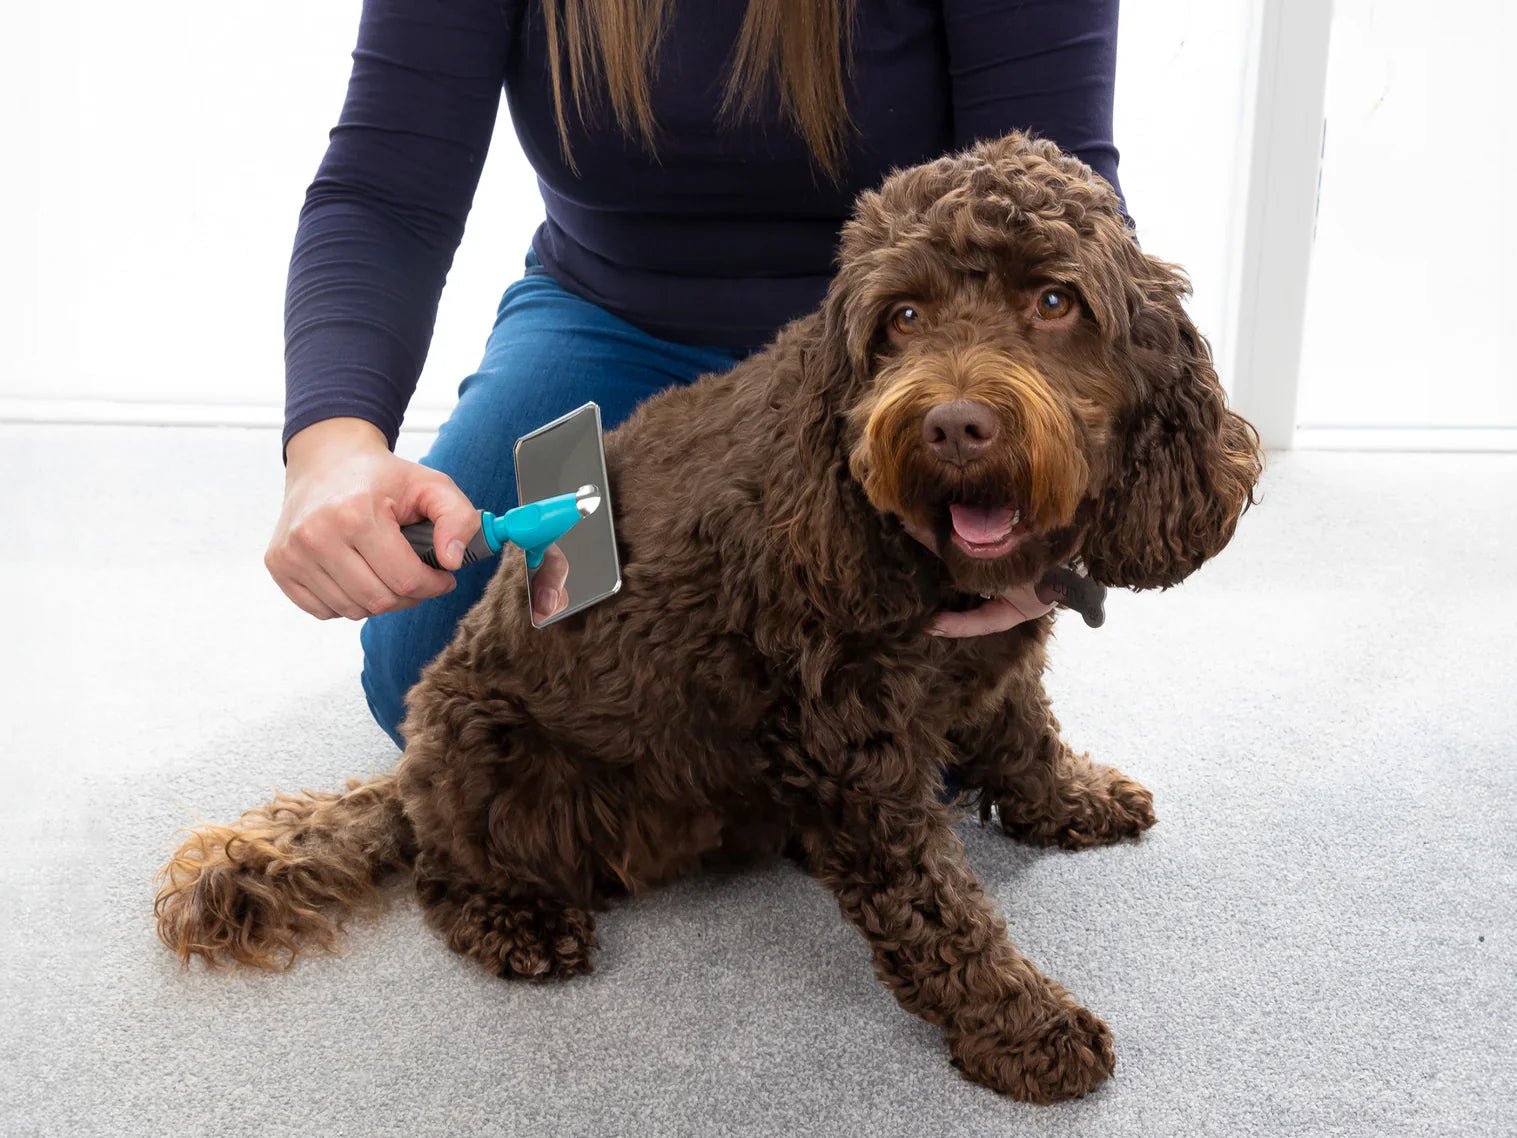
At-home grooming fits naturally into daily life when approached as regular light care rather than a big chore. Short sessions after walks or in the evening help dogs relax and reduce shedding in the home. Keeping tools in one basket near the grooming spot prevents delays. A simple schedule, such as daily brushing and monthly nail checks, supports both coat health and bonding, while also lowering stress at future vet or salon visits.
Fitting grooming into a busy week
Grooming feels easier when it follows a simple weekly rhythm instead of relying on rare “big sessions.” A sample routine is:
| Day | Quick care task |
|---|---|
| Mon | 5-minute full-body brush |
| Wed | Check paws, quick face wipe |
| Fri | Brush and detangle high-friction areas |
| Sun | Longer session: bath or nails/ears (alternate weeks) |
Link grooming to habits already in place, such as after walks or TV time, and keep tools in one basket so preparation is minimal.
When to book a professional groom instead
Professional grooming is an important partner that supports home care. In the following situations, it is safer to consider booking a professional groomer rather than pushing yourself.
| Situation | Why It Is Better to Leave It to a Professional |
|---|---|
| Many mats or felt-like tangles | There is a high risk of cutting the skin |
| Aggressive or extremely fearful behavior | Proper handling is needed to prevent biting and injuries |
| Senior dogs or dogs with existing health conditions | They can be groomed in a short time while monitoring their condition |
| Desire for a complex haircut style | A professional can balance both appearance and safety |
In addition, having a full-body professional check about 1 to 3 times a year can make it easier to detect skin disease, nail problems, and ear issues early, providing peace of mind. It becomes easier to decide what to do when you think of home care as “daily maintenance” and professional grooming as “difficult tasks and health checks.”
This article carefully explains seven steps for safely and comfortably grooming your dog at home, from preparation to finishing touches. It comprehensively covers how to choose tools, shampooing, tips for cutting, nail and ear care, ways to help your dog get used to grooming without resisting, practical methods for continuing care without stress in a busy lifestyle, and cases that should be left to a professional. This makes it a helpful guide even for beginners who want to try home grooming with confidence.