

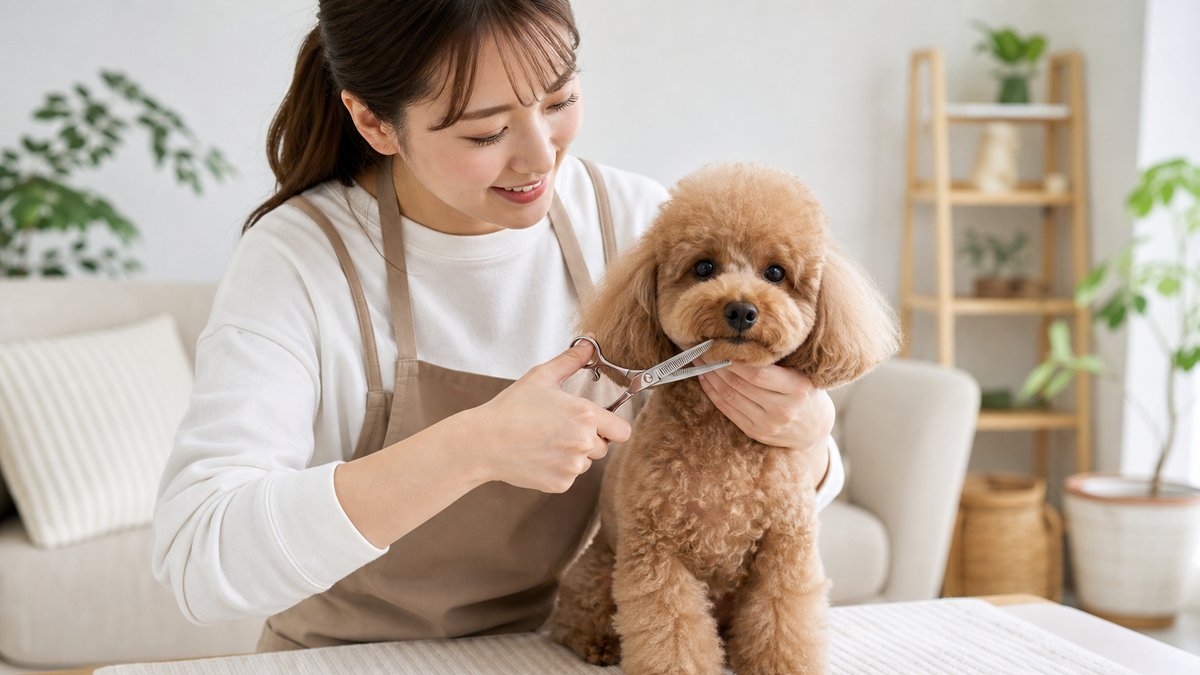
Many dog owners want to save money on grooming and the time spent going to the salon. However, when trying to groom their dogs at home, anxieties often arise, such as "Where should I start cutting?" and "What if my dog resists?" This article provides a clear, seven-step guide, from choosing the right tools for beginners to the actual cutting procedure and tips to minimize mistakes. We will explain key points to make grooming time with your dog more enjoyable while prioritizing safety.
Is It Safe to Cut Your Dog’s Hair at Home?
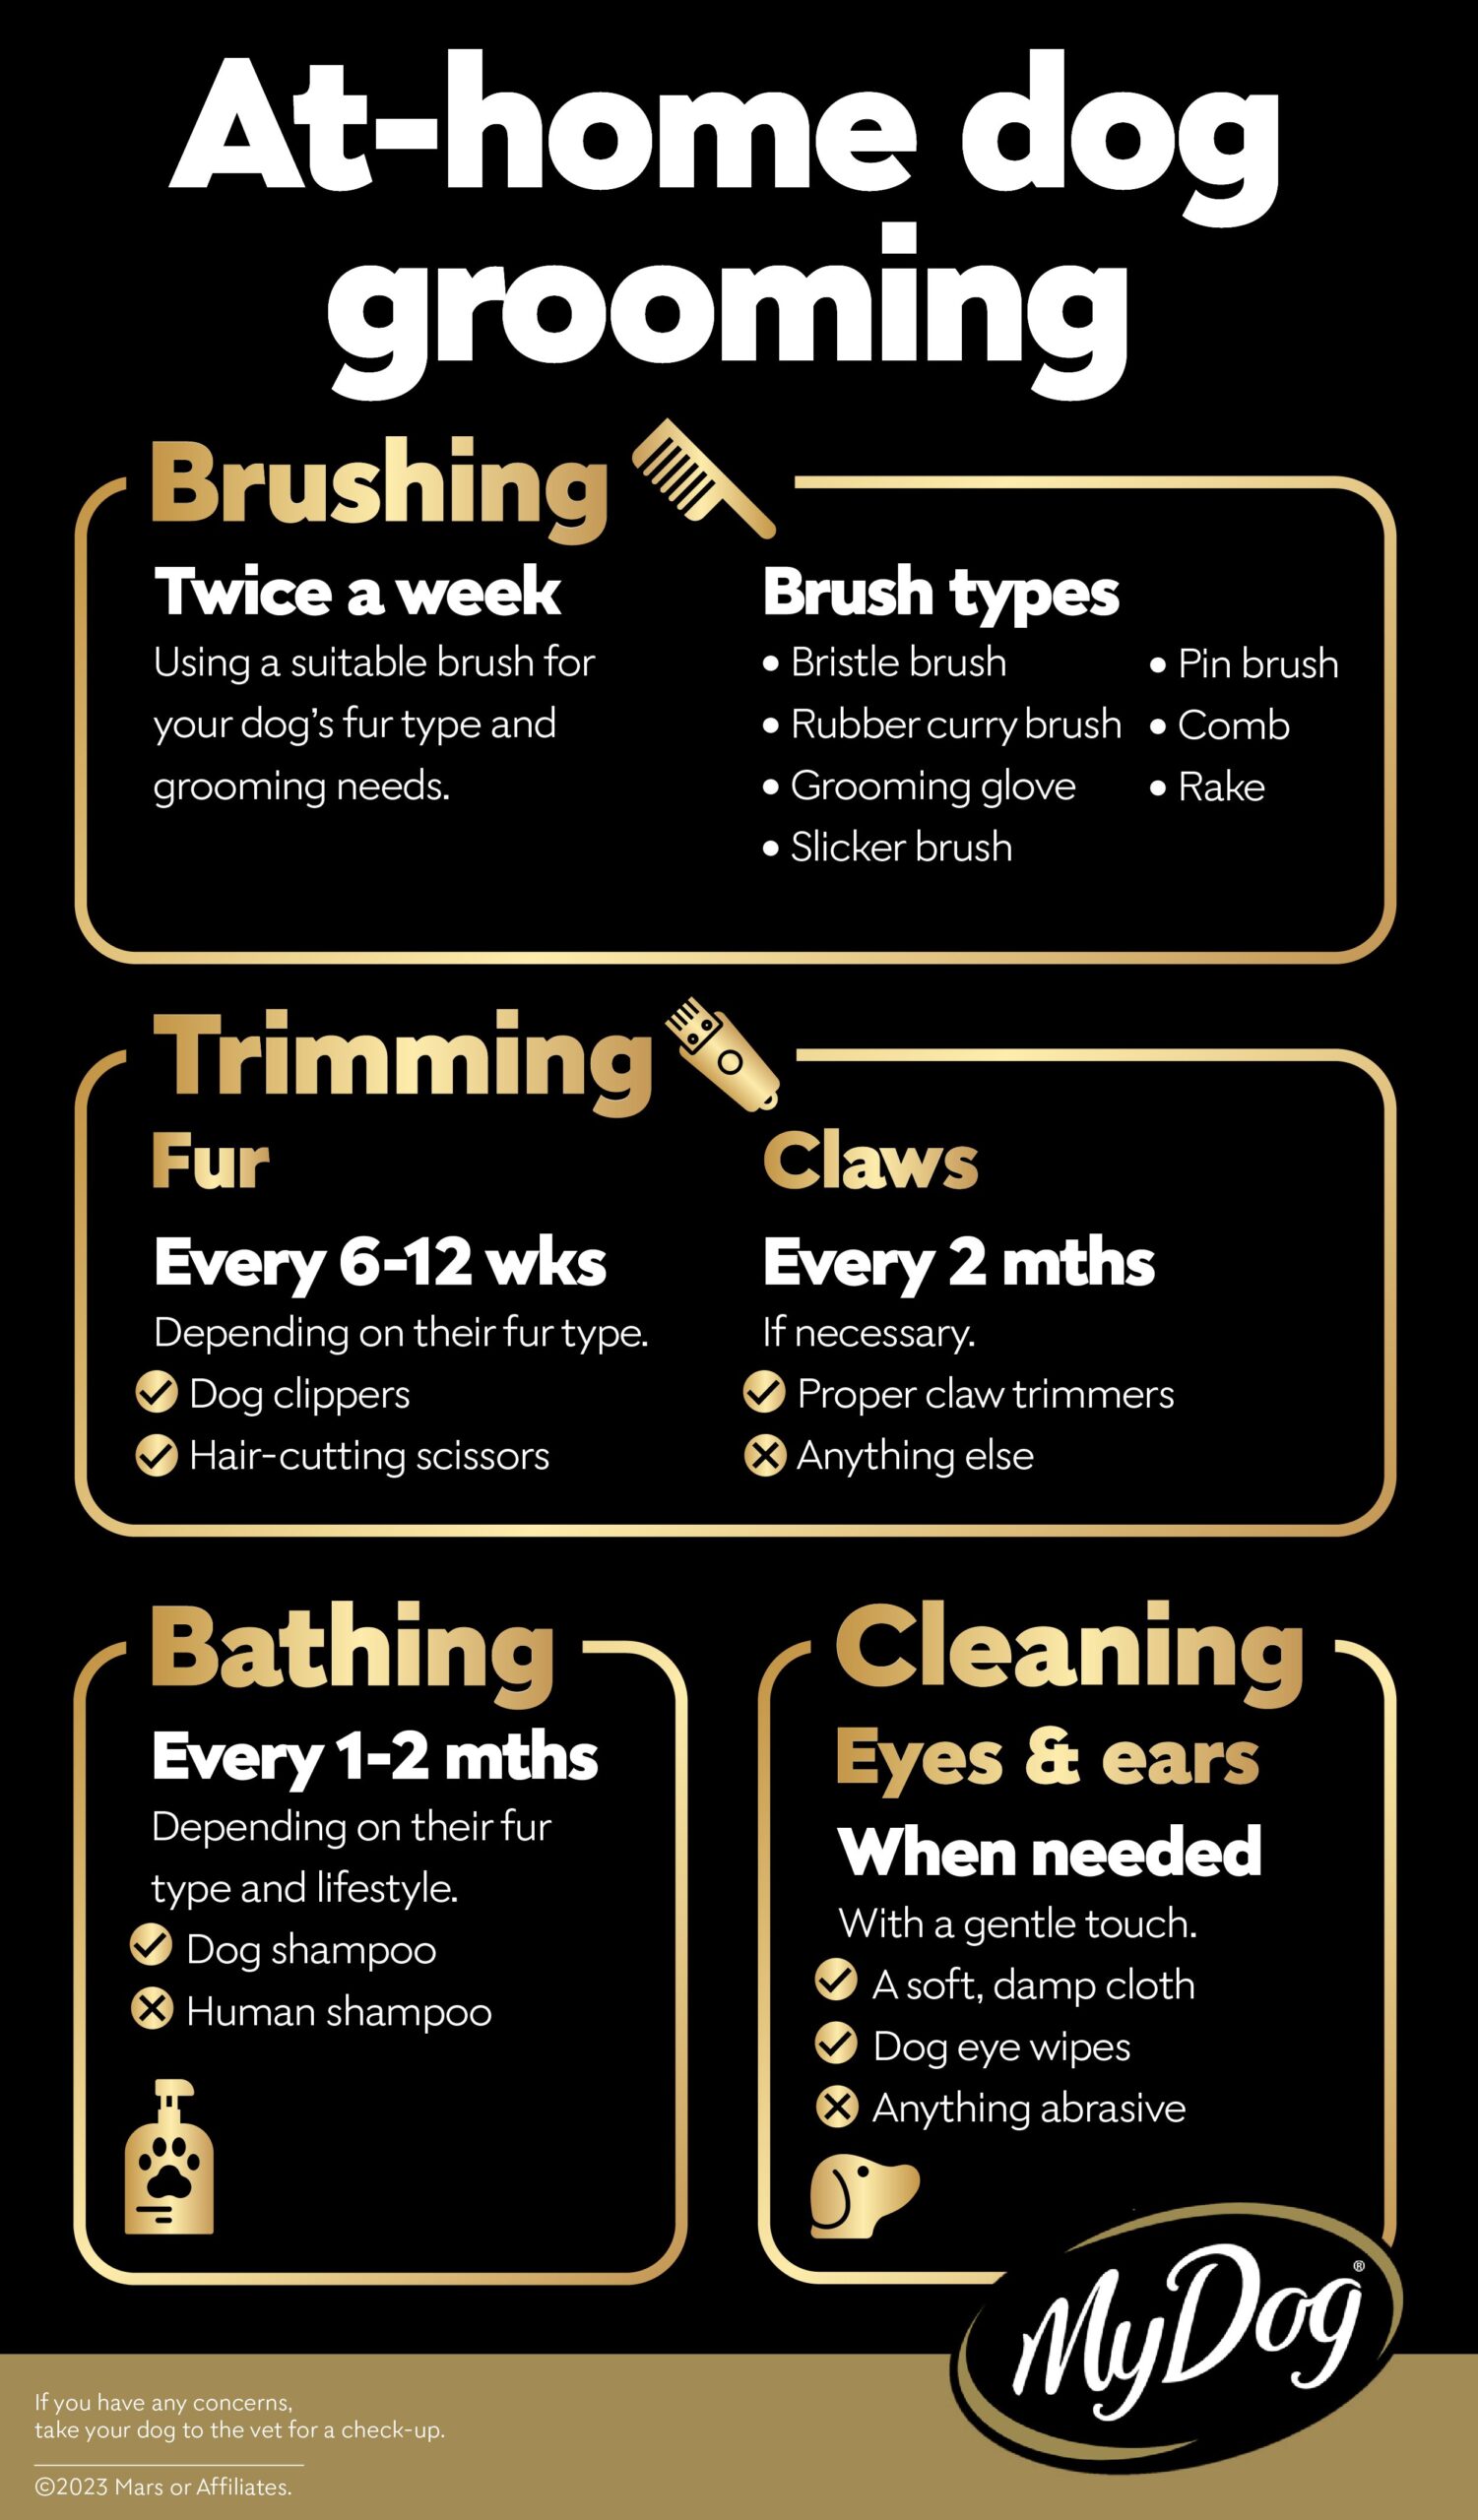
Cutting dog hair at home can be safe and comfortable when done with the right tools, calm handling, and realistic expectations. Many families manage simple trims themselves, such as neatening paws, hygiene areas, and light body tidy-ups. However, some coat types, health conditions, and complex styles are better left to a professional groomer. Before starting, owners should consider the dog’s temperament, coat type, and any medical issues, and plan to stop immediately if the dog shows signs of fear or pain.
Pros and cons of DIY grooming
DIY grooming has clear advantages. Owners can save grooming costs, work on a flexible schedule, and keep anxious dogs in a familiar environment. Regular home grooming also helps notice skin issues, bumps, or parasites early.
On the other hand, home haircuts carry risks. Without proper tools or knowledge, dogs may experience uneven cuts, skin nicks, clipper burn, or stress. Some coat types are easily damaged by incorrect clipping. Time and cleanup effort are also greater than many people expect.
When to see a professional groomer
Professional groomers are helpful when safety, coat type, or complexity go beyond what is comfortable at home. Dogs with heavy matting, very thick double coats, or breed-specific cuts (like Poodles or Spaniels) are usually better handled by experts. A groomer should also be consulted if the dog becomes highly stressed, shows aggression, has skin problems, or if any wounds, lumps, or severe odour are noticed during grooming. In those cases, a professional can work alongside a veterinarian.
Know Your Dog’s Coat Before You Start
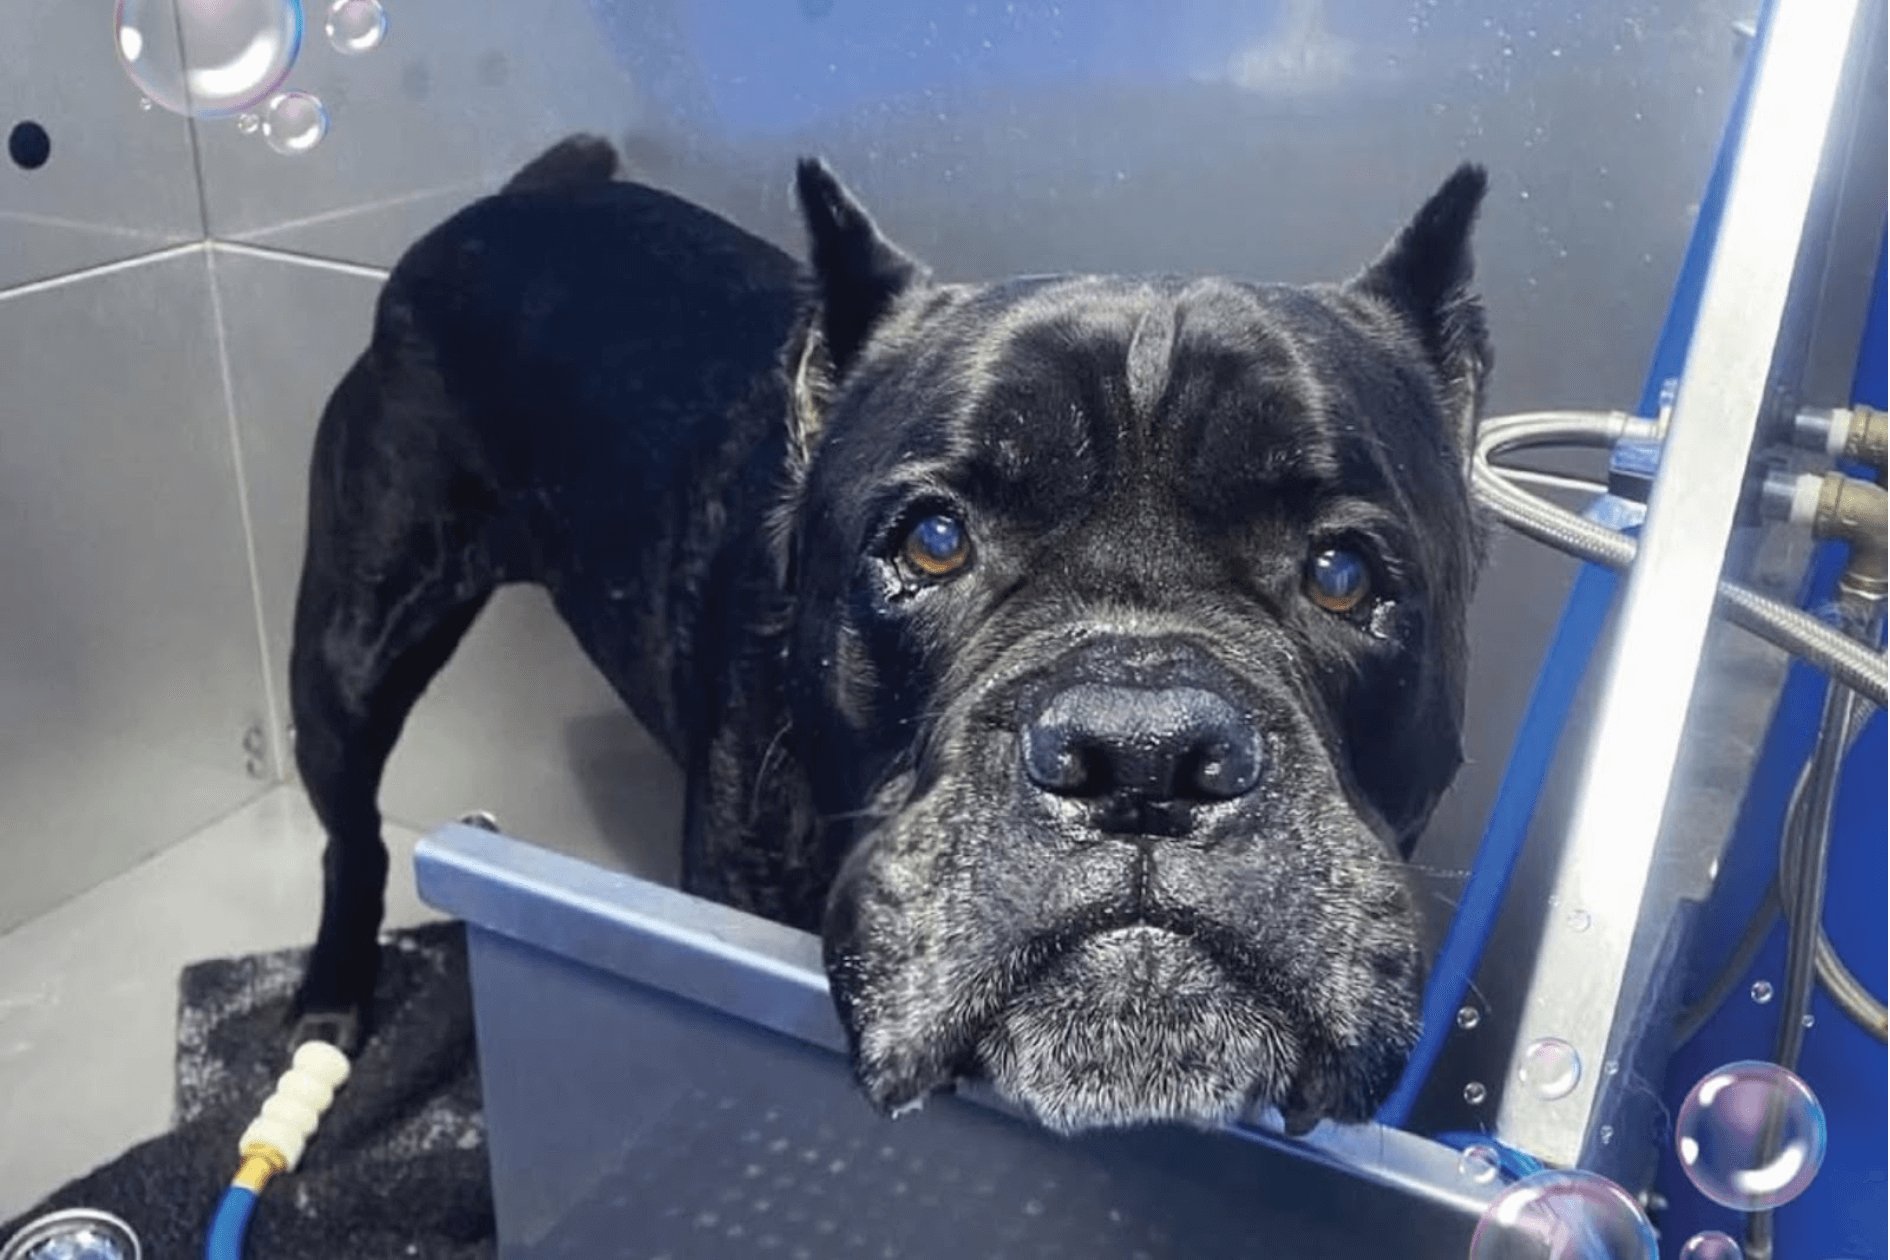
Understanding coat type helps prevent skin trouble and uneven cuts. Before any trimming, confirm whether the dog has a smooth, wire, curly, or long coat and whether the coat is single or double. Coat type decides how short you can safely cut, the right tools, and how often grooming is needed. When unsure, check the breed standard or consult a groomer so home grooming stays safe and comfortable.
Single coat vs double coat basics
Dogs have either a single coat or a double coat, and grooming methods differ greatly between them. A single coat has one layer of hair, often growing continuously, as seen in Poodles or Maltese. These dogs usually need regular clipping to stay neat. A double coat has a soft undercoat plus harsher guard hairs, common in breeds like Huskies or Golden Retrievers. The undercoat sheds seasonally, so thorough brushing, not heavy clipping, is the main care focus for double-coated dogs.
Breeds you should not clip short
Certain breeds should never be clipped very short, because cutting into the protective coat can cause permanent damage, patchy regrowth, and poor temperature regulation.
| Coat type / group | Examples of breeds | Why not clip short? |
|---|---|---|
| Double‑coated spitz | Husky, Alaskan Malamute, Akita, Samoyed | Undercoat regulates heat; clipping can cause coat blow and sunburn |
| Herding / working double coat | Border Collie, Australian Shepherd, German Shepherd | Risk of "coat funk" and woolly, uneven regrowth |
| Northern & mountain types | Shiba Inu, Chow Chow, Bernese Mountain Dog | Loss of natural insulation and protection from weather |
For these dogs, focus on brushing, de‑shedding, and light tidying around paws, rear, and feathering rather than full-body clipping.
How often most dogs need trimming
How often a dog needs trimming depends on coat type, lifestyle, and desired style. Short, smooth coats (Beagles, Pugs) usually only need occasional tidy‑ups every 8–12 weeks. Medium or long coats and curly coats (Spaniels, Poodles, Doodles) often benefit from a full trim every 4–8 weeks, with brushing several times per week. Double‑coated breeds are usually better with regular brushing and light tidying every 6–10 weeks, rather than very short clips. Owners can adjust timing based on how quickly fur looks overgrown or tangles appear.
Essential Tools for Home Haircuts
Choosing the right tools makes home grooming safer, faster, and less stressful for both owner and dog. At a minimum, preparations should include dog-safe clippers, scissors, combs, a gentle shampoo, towels, and a non‑slip surface. A quiet space, good lighting, and basic safety gear such as styptic powder and possibly grooming loops help prevent accidents. Investing in suitable equipment once often saves money compared to frequent salon visits and supports more comfortable regular care.
Clippers, blades and guards
Choosing the right clippers makes home haircuts safer and smoother. Use dog-specific clippers, as human tools can pull fur and overheat. For most pets, a quiet, corded clipper with a few detachable blades works well.
| Item | What to look for | Why it matters |
|---|---|---|
| Clippers | Quiet motor, ergonomic grip | Keeps dogs calmer, reduces hand fatigue |
| Blades | #10–#7F for body, stainless or ceramic | Controls coat length, stays sharp |
| Guards/combs | Different lengths, secure fit | Helps achieve even, longer cuts safely |
Check blades often; if they feel hot on skin, pause and cool them to avoid clipper burn.
Scissors, thinning shears and combs
Scissors are ideal for small, controlled trims where clippers feel risky. Round‑tip grooming scissors help protect skin around eyes, paws and ears. Thinning shears remove bulk without harsh lines, creating a soft, natural finish on neck, legs and tail. A metal comb is essential for lifting hair before cutting, checking for hidden knots and keeping lengths even so the cut looks tidy rather than choppy.
Shampoo, dryer and safety gear
A mild, dog‑specific shampoo protects the skin barrier and avoids irritation from human products or strong fragrances. Hypoallergenic or oatmeal formulas suit most dogs, including sensitive types. Rinse extremely well, because leftover shampoo often causes itching.
Drying is just as important. Use a highly absorbent towel first, then a low‑heat, low‑noise dryer setting, keeping the nozzle moving and at least a hand’s width from the skin.
For safety gear, rubber bath mats prevent slipping, cotton balls (not deep in the ear canal) reduce water entry, and grooming loops or harnesses help keep the dog steady without neck pressure. Owners should consider eye protection when clipping, plus closed‑toe shoes to avoid dropped tools. Regularly check water and dryer temperatures by hand to prevent accidental burns.
Setting up a safe grooming space
A safe grooming space reduces stress and prevents accidents. Choose a quiet, well-lit, non‑slippery area such as a bathroom or laundry room. Use a rubber mat on the floor or table to stop sliding. Keep clippers, scissors, treats, and towels within easy reach, but out of chewing range. Secure electric cords and avoid water near sockets. Always supervise children and ensure the dog can step away safely if feeling overwhelmed.
Prepare Your Dog for a Calm Groom
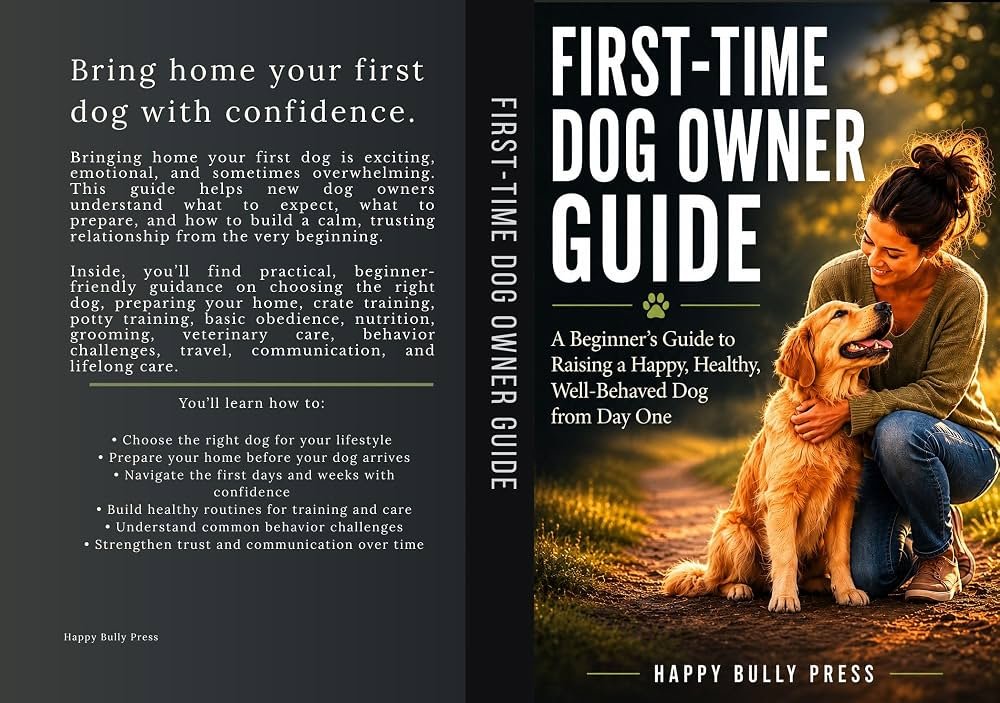
A calm dog makes home haircuts safer and much easier. Before any scissors or clippers appear, allow the dog to sniff tools, hear the clipper sound from a distance, and relax in the grooming area. Offer treats, gentle praise, and short cuddles so grooming time feels positive. For very nervous dogs, begin on a different day from cutting and focus only on creating a relaxed, trusting mood around the grooming setup.
Handling and desensitization tips
Many dogs feel nervous about clippers, tables, and being held, so slow desensitization is essential. Start on calm days, not when the owner is rushed. First, touch paws, ears, tail, and belly gently for a few seconds, then release and praise. Gradually add gentle brushing, lifting each leg, and briefly holding the muzzle. Introduce grooming tools one by one: let the dog sniff, hear the clipper sound at a distance, and pair every step with calm words and small treats. Sessions should end before the dog becomes overwhelmed, so the dog learns that grooming is safe and predictable.
Short practice sessions and rewards
Short, relaxed sessions help dogs learn that grooming is safe and even enjoyable. Aim for 5–10 minutes at a time, ending before the dog becomes restless. Start with easy actions such as touching paws or turning the clipper on nearby, then stop while the dog is still calm.
Use plenty of high-value treats, praise, and gentle petting during and immediately after each mini-session. Over several days, gradually increase the difficulty and length. If the dog shows stress signals, pause, offer a break, and reward calm behavior before trying again later.
Step 1: Brush Out Knots and Tangles
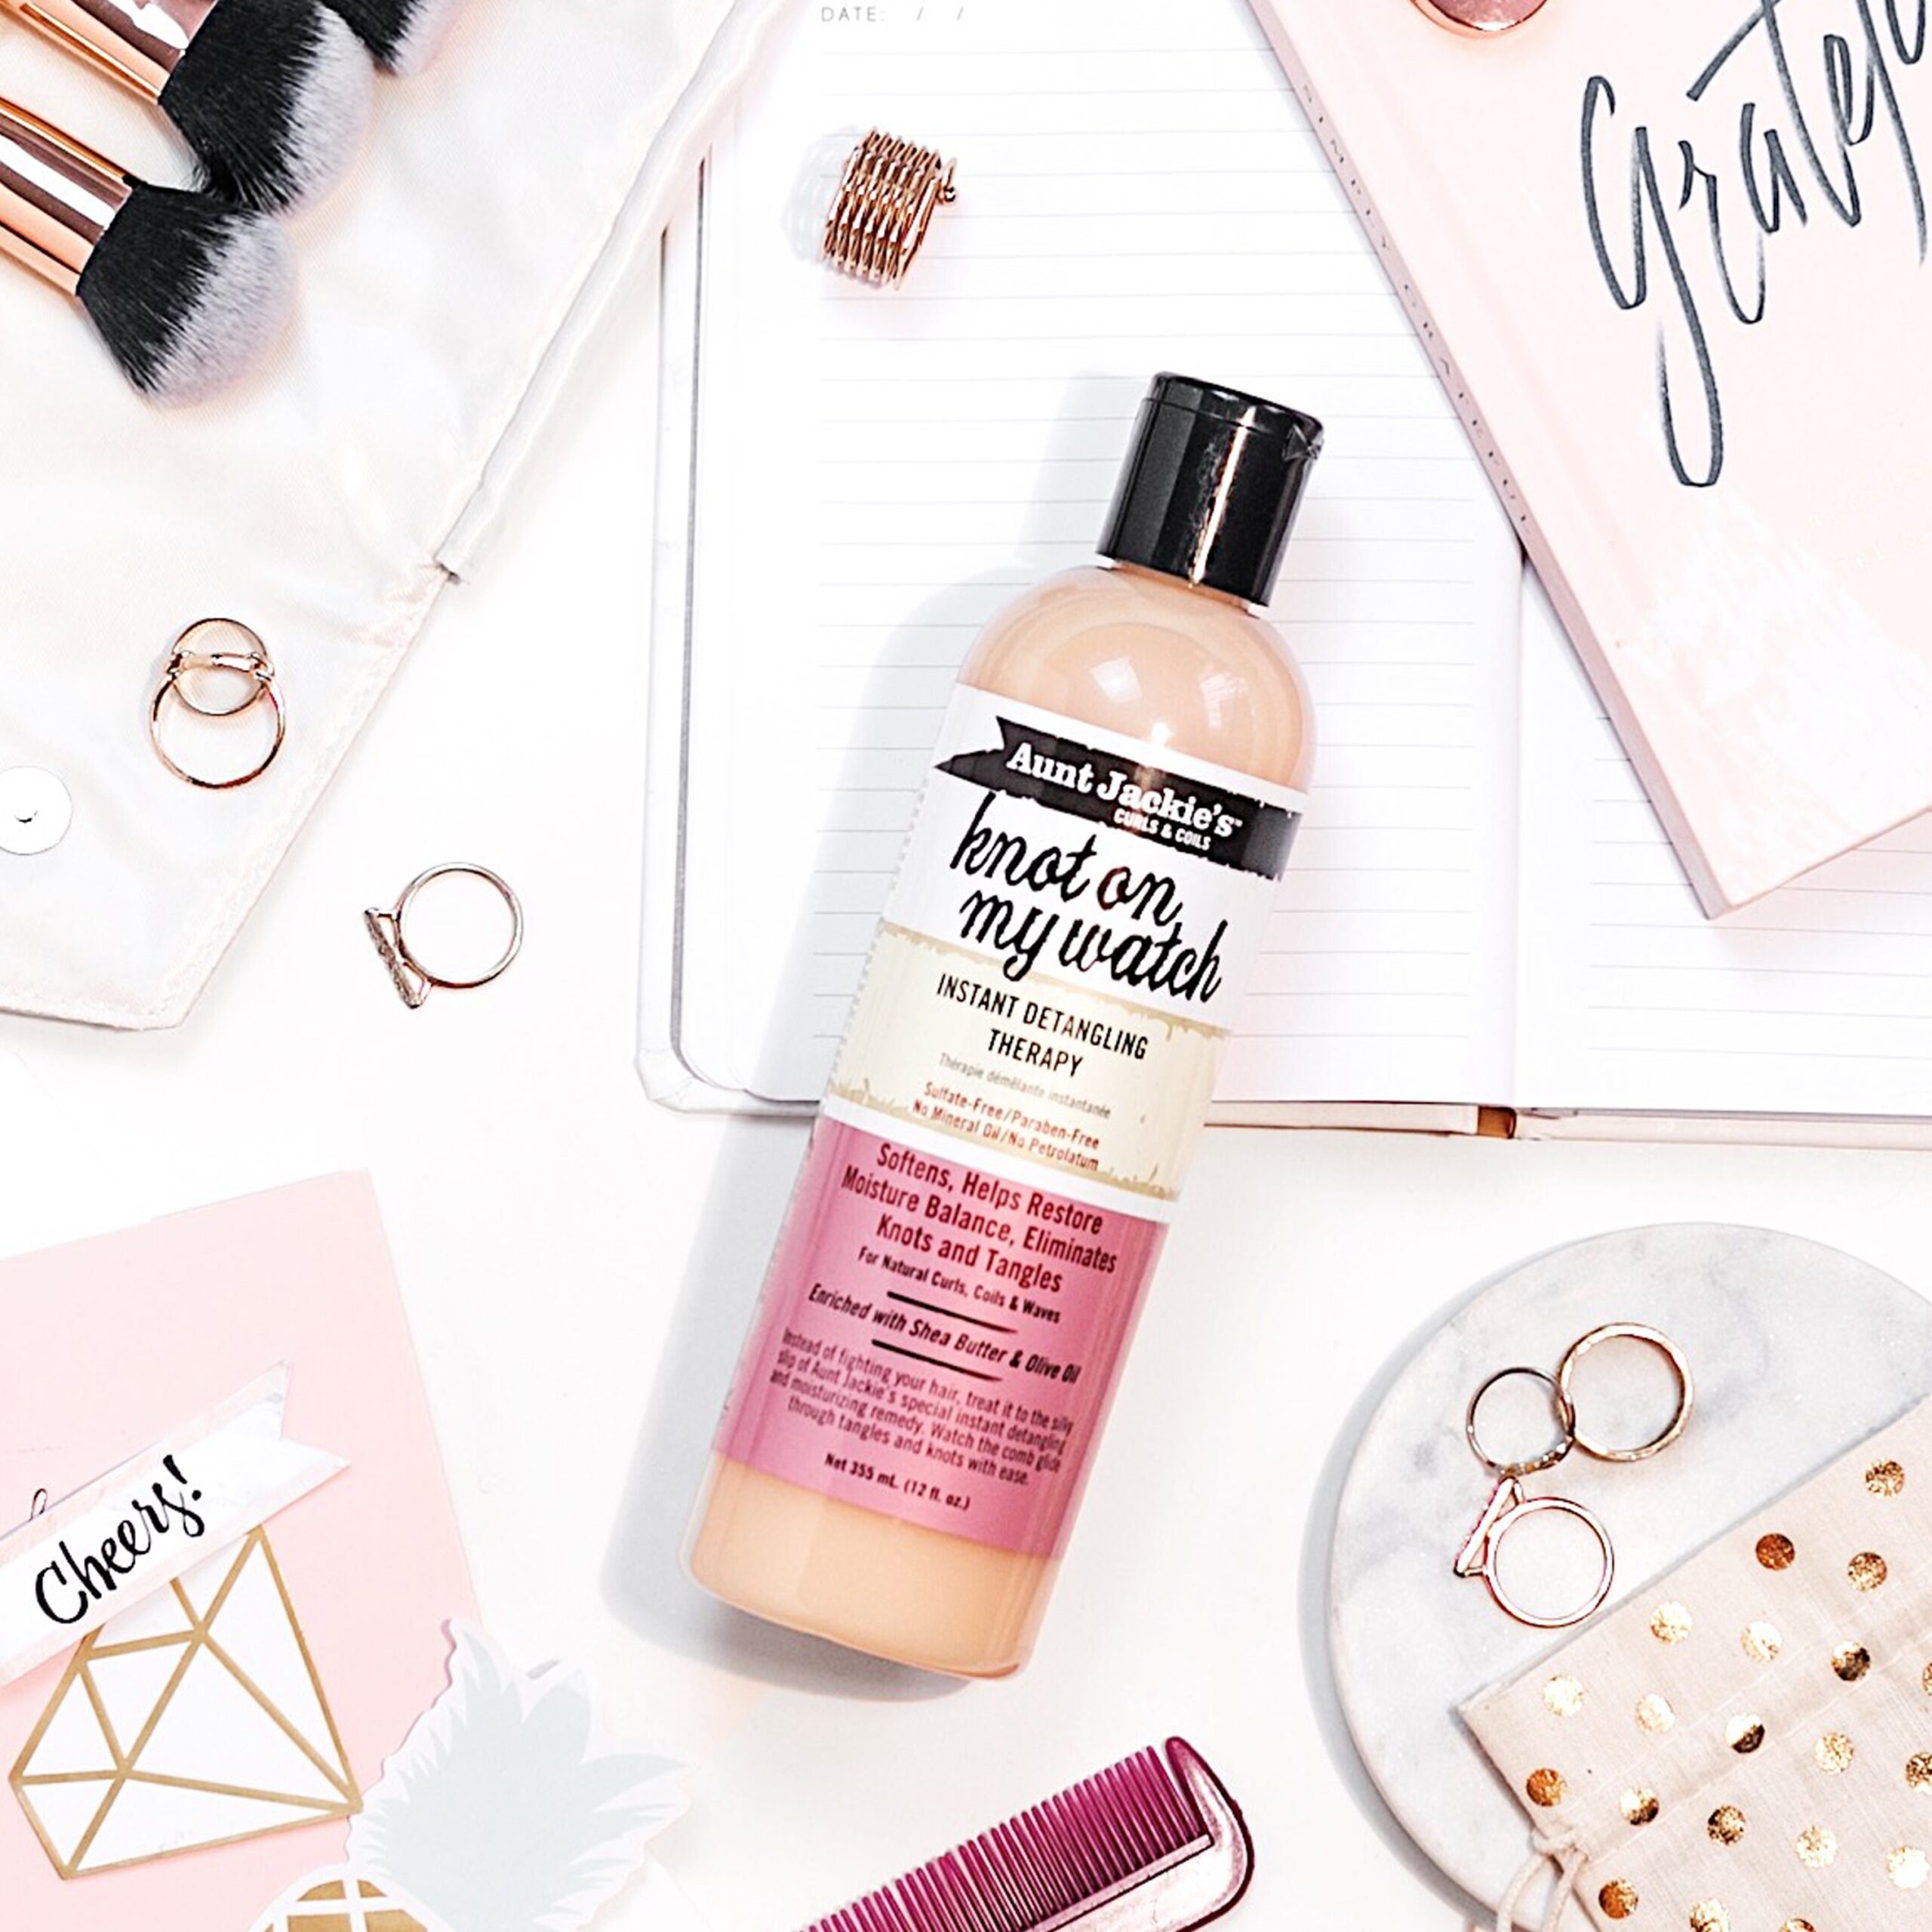
Before any cutting, thorough brushing is essential. Brushing removes loose hair, straightens the coat, and exposes the real length, which makes the later clip more even. Start with a wide-tooth comb or slicker brush, working in small sections from the neck toward the tail. Support the skin with one hand and brush with gentle strokes to avoid scratching. Focus on friction areas such as behind the ears, under the collar, armpits, and inner thighs, where tangles form easily. Stop if the dog shows pain and move to a different spot.
Removing mats safely and gently
Mats should be worked out slowly, never ripped or cut close to the skin. Start by supporting the skin with one hand, then use a metal comb or slicker brush to tease the outer hairs of the mat, working from the ends toward the base in tiny sections. A dog-safe detangling spray can reduce pulling. If the dog shows pain, pause, offer a treat, and switch to even smaller sections to keep grooming as gentle as possible.
When a mat needs a pro to fix
Some tangles can be handled at home, but severe mats are a job for a professional groomer. In the following situations, it is safer to stop and book an appointment:
- The mat is tight against the skin and the skin underneath looks red, warm, or painful
- Large areas of the body feel like a solid “shell” of fur
- The dog cries, growls, or resists strongly when the area is touched
- Mats are in high‑risk zones such as armpits, groin, ears, or tail base
A groomer can clip mats away with minimal discomfort and may advise a vet visit if skin damage or infection is present.
Step 2: Bathe and Dry for Best Results

A clean, dry coat makes home haircuts much safer and smoother. Before cutting, remove surface dirt and excess oil so clippers and scissors glide instead of snagging. Lukewarm water, gentle dog shampoo and careful rinsing help prevent skin irritation. Drying is just as important: damp fur hides true length and can clog clipper blades. Aim for fur that is fully dry and fluffy, so coat texture, direction of growth and any skin problems are easy to see before trimming.
Choosing a gentle dog shampoo
Choosing a gentle shampoo is essential for healthy skin and a soft, shiny coat. Always pick a dog-specific, pH-balanced shampoo, as human or baby products can dry or irritate canine skin. Look for labels that say soap-free, hypoallergenic, and fragrance-free or lightly scented. For sensitive or itchy skin, formulas with oatmeal, aloe, or chamomile are often suitable. Avoid strong perfumes, dyes, and harsh ingredients like sulfates. When unsure, a quick check with a veterinarian helps prevent skin trouble.
How to wash without stressing your dog
Many dogs dislike bathing because they feel insecure, cold, or startled by water noise. To reduce stress, prepare everything before bringing the dog to the bathroom and use a non-slip mat so paws do not slide. Use lukewarm water, starting from the body rather than the head, and keep water pressure gentle. Speak calmly, offer small treats, and keep sessions short. If the dog shows strong fear, finish with a simple wipe-down and try again another day instead of forcing a full wash.
Towel and blow drying basics
Proper drying is essential before cutting dog hair. Start by gently pressing a towel along the body to remove excess water; avoid rough rubbing, which can create tangles and stress. Use a dog-safe dryer on low heat and low airflow, keeping the nozzle moving and at least a hand’s width from the skin. Dry in layers while brushing so the coat becomes fully dry and fluffy. Never clip a damp coat, because moisture can pull, clog blades, and increase the risk of irritation.
Step 3: Clip the Body Hair Safely

Clipping the body is where the haircut takes shape, so safety and control are essential. Begin with a clean, fully dried, thoroughly brushed coat; damp or tangled fur causes uneven lines and snagging. Let the dog stand on a stable, non‑slip surface, and keep one hand on the body for gentle support. Work slowly in short sessions, speaking calmly and watching for stress signals such as yawning, lip licking, or turning away. If the dog seems overwhelmed, pause and continue later.
How to hold and move the clippers
Hold the clipper lightly but securely, similar to holding a large pen. Keep the cord behind the body to avoid sudden tugs. Use the other hand to gently steady the skin, so the clipper glides over a flat surface. Start with the clipper turned on but away from the coat so the dog can get used to the sound before touching the fur.
Move the clipper in slow, smooth strokes, letting the blade do the work without pressing hard. Short, overlapping passes prevent uneven patches and reduce pulling. Avoid sudden direction changes; instead, lift the clipper off the coat, reposition, and start a new stroke. Frequently pause to let the dog relax and to clear hair from the blade.
Clipping with the grain vs against
Clipping with the grain means moving the clippers in the same direction the hair grows. It usually gives a longer, smoother, more natural-looking finish and is safer for beginners. Clipping against the grain goes opposite to hair growth, cutting shorter and faster but increasing the risk of lines, irritation, and accidental nicks. For most home grooming, start with guards on and clip with the grain, using against-the-grain passes only for small, stubborn areas once skill and confidence improve.
Avoiding hot blades and clipper burn
Clipper blades generate friction and can become very hot, especially on thick coats or during long sessions. Always touch the blade with the back of a finger every few minutes; if it feels uncomfortable on skin, it is too hot for a dog. Use cooling spray, change to a spare blade, or pause to let equipment cool. Keeping blades clean and lightly oiled also reduces heat. Avoid staying in one spot; keep clippers moving gently to prevent clipper burn and skin irritation.
Step 4: Trim Legs, Paws and Tail
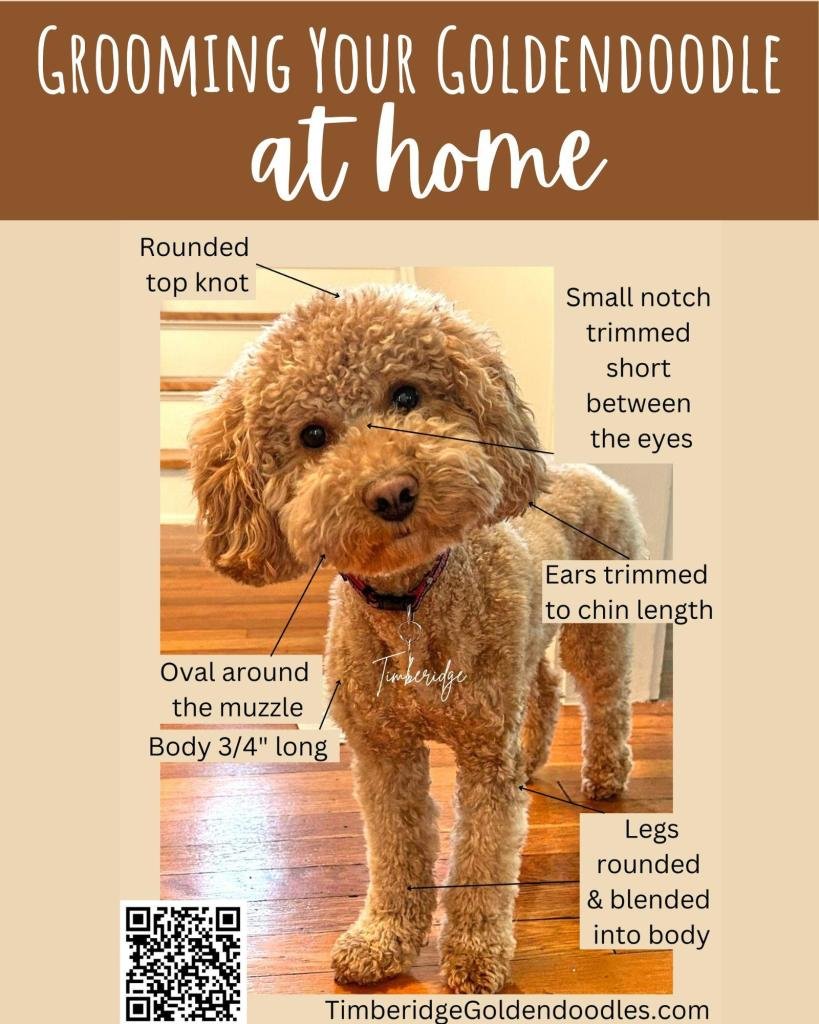
Trimming legs, paws, and the tail creates a neat overall look and helps keep dogs clean and comfortable. Work on a dry, well‑brushed coat so the scissors do not catch. Start with the body already clipped, then move to the limbs. Keep sessions short, and always position the dog so it feels secure, for example on a non‑slip surface with calm, gentle handling. Focus on function over fashion: aim for tidy fur that does not drag on the ground, trap dirt, or hide the shape of the paws and tail.
Neat feet: trimming paw pads and fur
Neat paws are both cute and practical. Start by having the dog stand on a non‑slip surface and gently hold one paw at a time. Spread the toes with your fingers so the pads are clearly visible. Use rounded‑tip grooming scissors or small clippers, and trim only the hair sticking out beyond the pads and between the toes. Cut in tiny snips, keeping blades parallel to the pads to avoid nicks. Stop if the dog pulls away repeatedly and offer treats so paw handling stays positive.
Safe tail and leg shaping tips
Tail and leg hair should be shaped to look natural and not interfere with movement. Start by brushing hair straight so the outline is clear. Trim in small amounts, following the natural line of the leg and tail rather than creating sharp angles. Keep scissors parallel to the body and avoid cutting too close to the skin. Around hocks and the base of the tail, round off only stray or uneven hairs. If the dog fidgets, pause and reposition instead of forcing the pose.
Step 5: Shape the Face and Ears

Shaping the face and ears creates a tidy look, but safety comes first. Keep the dog standing or sitting securely, and work in bright light so the skin and edges of the ears are clearly visible. Use round‑tipped grooming scissors only, never kitchen scissors or razors. Hold the ear leather flat against the head with your fingers behind the cutting line, trimming tiny amounts at a time. Around the cheeks and forehead, follow the natural head shape, snipping small tufts rather than cutting large chunks. If the dog turns suddenly or pulls away, pause, praise, and reset before continuing.
Keeping eyes, nose and mouth safe
The face is the most delicate area, so move slowly and deliberately. Ask the dog to stand or sit still, and keep one hand under the chin or gently on the muzzle for stability. Use rounded‑tip grooming scissors only, never point them toward the eyes. Trim away from the eyes and nose, not toward them. Avoid cutting whiskers, as they help with balance and spatial awareness. If the dog blinks, pulls back, or licks lips repeatedly, pause, offer a treat, and resume later.
Ear fringes and beard trimming tips
For ear fringes, gently comb the hair straight down, then trim only the tips with rounded scissors, following the natural ear outline. Keep one hand under the ear flap so the blade never points toward the skin. Small snips and frequent checks help avoid uneven chunks.
For beards and mustaches, comb the hair away from the eyes and mouth, then trim to keep food and water from sticking. Cut a little at a time from the bottom edge, keeping a soft rounded shape. Stop if the dog pulls back, reward with a treat, and resume once calm.
Step 6: Tidy Up with Scissors

Scissor work is the finishing touch that makes a home haircut look neat and intentional. Use small, blunt‑tipped grooming scissors and keep the blades parallel to the body to avoid accidental nicks. Lightly snip any long or uneven tufts left after clipping, working in very small sections and checking the shape from a distance. If unsure how short to go, trim less than expected; extra length can always be removed later, but cannot be replaced once cut.
Blending lines for a smooth finish
Scissor work at the end of a cut helps create a soft, professional-looking finish. Hold the scissors so the tips always point away from the skin, and work in small snips. Comb the coat in the natural growth direction, then lightly trim any uneven tufts that stick out. For a smoother blend between clippered and longer areas, use thinning shears and make gentle, shallow cuts, checking the shape from several angles as you go.
How short is too short?
Cutting too short can damage the coat and irritate the skin, so a cautious approach is safest. As a目安, leave at least 1–2 cm of hair on most pet dogs. Very short cuts (under 0.5 cm) increase the risk of sunburn, clipper burn, and ingrown hairs, especially on pale or thin skin. Avoid shaving double‑coated breeds down to the skin; once hair is removed that deeply, the texture and regrowth pattern may change permanently.
Step 7: Final Checks and Clean Up
After the main trim, a quick final check keeps your dog comfortable and the haircut looking neat. Gently run your hands over the whole body to feel for long tufts, uneven spots, or damp areas. Look carefully around armpits, groin, tail base and ears, where irritation and missed hair are common. Sweep or vacuum hair from the floor, then wash and dry tools so they stay clean and safe for the next grooming session.
Check for missed spots and irritation
After the haircut, run hands and eyes over the whole body in good light. Part the coat to check for red skin, clipper lines, small cuts, or razor burn, especially in the armpits, groin, belly, and around the tail.
If any area looks sore or your dog flinches, stop grooming. Cool warm skin with a damp cloth and keep the dog from licking. Contact a vet or groomer if there is bleeding, swelling, or persistent redness.
Rewarding your dog after grooming
Grooming should end on a positive note so the dog happily cooperates next time. Right after finishing, offer a high-value treat, calm praise, and gentle petting. Many dogs relax with a short play session or a quiet cuddle in a favorite spot. Avoid scolding about wiggling or mistakes during grooming; focus on rewarding calm behavior instead. Repeating this pattern helps the dog associate home haircuts with comfort, safety, and bonding time, not just clippers and scissors.
Lifestyle Tips for Regular Home Grooming

Regular home grooming works best when it fits naturally into everyday life. Short, frequent sessions keep the coat clean, reduce shedding, and make full haircuts easier. Consistent grooming also helps spot skin problems or lumps early, supporting long‑term health. Linking grooming to calm moments—after a walk or in the evening—helps dogs relax and see care as positive one‑on‑one time, not a chore.
Creating a simple grooming routine
A simple routine makes home haircuts safer and less stressful. A basic schedule can look like the table below.
| Frequency | Care item |
|---|---|
| Daily / Every 2 days | Quick brush, check eyes and paws |
| Weekly | Thorough brushing, quick paw tidy |
| Every 3–6 weeks | Bath, full trim or clip |
Choose realistic intervals based on coat type and lifestyle, then link grooming to positive moments such as walk time or treats. Using the same location, tools and order of steps each time helps dogs relax and understand what will happen next.
Keeping tools clean and stored safely
Clean, well-kept tools make grooming safer and more comfortable. Rinse hair off clippers and scissors after each use, then wipe with a soft cloth. Use clipper oil on blades to prevent rust and overheating. Wash combs and brushes regularly with mild soap and warm water, and let them dry completely.
Store all tools in a dry, closed container or drawer, away from children and pets. Keep electrical items coiled neatly and off the floor. Regular checks for damage or dullness help avoid pulled fur and uneven cuts in future grooming sessions.
Budgeting time and money for grooming
Grooming at home can save money, but it still requires planning. A simple schedule helps: regular brushing at home and professional help when needed. For many dogs, a full home trim every 4–8 weeks is enough. Block grooming time in a calendar, and break long sessions into 2–3 short parts to reduce stress. Track costs for tools, shampoo, and occasional salon visits to see long‑term savings and avoid sudden large expenses.
Do’s and Don’ts of Cutting Dog Hair

Cutting dog hair at home becomes much safer when owners follow clear do’s and don’ts. Key do’s include working on a non-slip surface, using pet-safe clippers and scissors, trimming in short sessions, and stopping immediately if the dog shows pain or heavy stress. Important don’ts are not shaving double-coated breeds short, not cutting wet or badly matted fur without training, and not rushing around sensitive areas such as eyes, ears, and paws. Keeping these guidelines in mind helps protect both the dog’s skin and the bond with the owner.
Key safety do’s for home haircuts
For safe home haircuts, preparation and calm handling are essential. Use dog‑safe clippers and blunt‑tipped scissors only, and check blades often to prevent overheating. Work in a non‑slip, well‑lit area and keep hair and tools away from children.
Groom slowly, speaking softly, and stop immediately if the dog shows strong fear or pain. Keep sessions short with frequent breaks and treats. Always cut away from the skin, avoid sensitive areas unless trained, and contact a groomer or vet whenever unsure.
Common mistakes to avoid
Common errors during home haircuts often lead to uneven coats or stressed dogs. Avoid rushing; hurried movements make dogs anxious and increase injury risk. Cutting wet or dirty fur is another mistake, as clippers snag more easily. Using dull or human tools can cause pulling and skin cuts. Shaving double‑coated breeds too short may damage their coat. Ignoring signs of stress or forcing a scared dog to continue also creates negative associations with grooming.
How to Cut Dog Hair at Home for Beginners
Cutting dog hair at home can feel intimidating, but beginners can succeed by focusing on safety, simplicity, and patience. Choose an easy, low‑maintenance style instead of aiming for a show cut. Use quiet dog clippers, keep sessions short, and always watch for stress signals. Start with clean, dry, brushed fur and work slowly in good light. When unsure, leave the fur longer and consult a professional groomer for advice before attempting advanced styles.
Start small and build your skills
For beginners, it is safer to aim for small, simple improvements rather than a full salon-style cut. Start with easy areas such as the body sides or a light tidy of the chest, and leave tricky zones like the face, ears, and paws for later. Work in short sessions, repeat the same style each time, and gradually try new techniques. Taking photos of each groom helps track progress and avoid dramatic changes in one go.
Signs your dog is too stressed to continue
Strong stress signs mean grooming should stop immediately for the dog’s safety. Typical signals include continuous trembling, tail tightly tucked, yawning or lip licking over and over, heavy panting indoors, and pinned-back ears. More serious signs are growling, snapping, trying to jump off the table, or freezing stiff. When such reactions appear, pause, calmly move away from tools, give space and rewards, and plan a shorter session on another day.
This article provides a detailed explanation of how to safely trim your dog's fur at home, from preparation to the seven steps involved, including tool selection, tips for avoiding upsetting your dog, and when it's best to leave it to a professional. It introduces key points for home grooming that even beginners can easily implement.







![[Dog Food Storage] How to store dog food](https://with-my-dog.com/wp-content/uploads/2022/09/pumpkin-hokkaido-gd74954bb8_1920-150x150.jpg)







![[Photos] Want to see cute lion-dog statues? Check out these popular shrines](https://with-my-dog.com/wp-content/uploads/2022/07/pexels-markus-distelrath-2832119-300x200.jpg)